Mulching in the Spring is one of the single best things you can do for your lawn. If you don’t mulch your garden beds, you’ve got issues: weeds, decay, dead leaves, and overall poor lawn aesthetics.
I’ve been mulching in the spring for years and, truthfully, I only ever did it as a chore when I was a kid or to help out my mom when I was in college. I didn’t respect how beneficial mulch is for my garden beds and my lawn.
Now that I’m an adult (still a kid at heart 🙂 ), I’ve come to understand the value of mulching in the spring, before the heat comes in with the summer months.
And P.S. If you prefer video, I made a Youtube video walking you through the entire process, which you can find here: STOP Letting Your Lawn DOWN! [DO THIS]
3 Benefits of Mulching in the Spring
One of the main benefits is making your yard absolutely pop with color. The contrast between the dark mulch against your green grass, vibrant flowers, and masonry of your home gives it that zing that neighbors can’t really put their finger on, but they know you have a lawn that’s a step above everyone else. It’s subtle, but a big difference.
Another major benefit is the insulation effect from mulching. Springtime is a very dynamic and volatile time of year when it comes to weather and temperature. My born and raised southern accented momma told me that, “Spring comes in like a lion and out like a lamb.” Meaning in the first half of Spring, you have a hot week, then a cold week, then a bunch of rain and its humid and then it’s dry and on and on it goes. It’s all over the place. By the time you get towards the back half of spring, it’s calmed down and a little more predictable.”
With all that volatility, your plant’s root systems can get damaged or not develop well if they aren’t shielded properly. Mulch provides the insulation needed to protect your plants so they can develop strong roots and absorb water and nutrients all throughout the year.
Lastly, as long as you’re not using the rubber mulch or rock, and you’re preferably using shredded, hardwood mulch, the organic material from the mulch will break down and provide nutrients to the soil. If you’ve ever driven up to a mulch yard in the morning, you can see massive amounts of steam rising from the mulch piles. When the organic material breaks down, it produces heat, which is the steam you’re seeing. This effect provides both heat for the night to protect the roots and nutrients to help the soil grow your plants.
10 Key Tips for Mulching in the Spring
I created this guide to help walk through all the tips that I’ve learned over the year mulching my garden beds dozens of times.
Tip #1: Get shredded, hardwood mulch from a mulch yard.
Or smaller bags from Lowe’s or Home Depot’s mulch selection. Try to avoid the rubber mulch or the kind that is just dyed. Usually they are only a quick fix and they lose a lot of the benefit and color within a 1-3 weeks of laying it down. Plus, sometimes the bags of mulch of those knock off types can be a little suspect.
As a bonus tip, if you don’t know how much mulch to get, here’s an equation. Measure the length & width of your beds in feet, multiply those together, then divide by 81. That number will be how many “yards” of mulch you need to cover your bed.
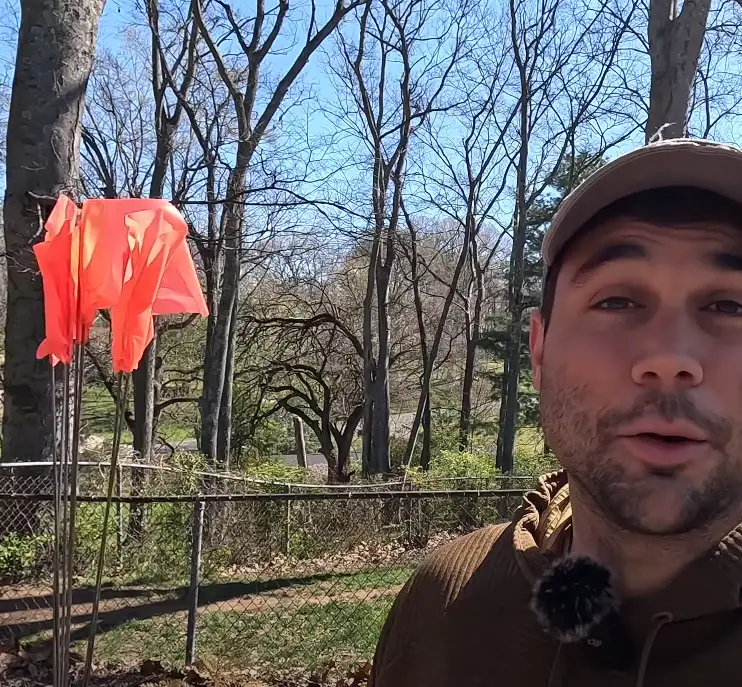
Tip #2: Mark your plants before setting down mulch
Before you start, mark your plants with little orange flags. Do this so you don’t end up dumping loads of mulch on your plants that are trying to grow up in the spring and end up suffocating them. If you ever watch some of these landscaping companies that look more like a NASCAR pit crew, they’re flying through the job when applying mulch. But if you look closely, a lot of times they’re just dumping wheelbarrows full of mulch onto budding plants and end up killing them. Don’t be a flower murderer. Be a tree hugger.
Tip #3: Edge your yard & beds before mulching
Giving all your beds a clean and crisp edge will help contain the mulch, but give it the extra pop that’s intended with our mulch beds in the first place. My favorite tool the EGO Power+ MHC1502 Multi Combo Kit: 15 String Trimmer, 8-Inch Edger & Power Head.
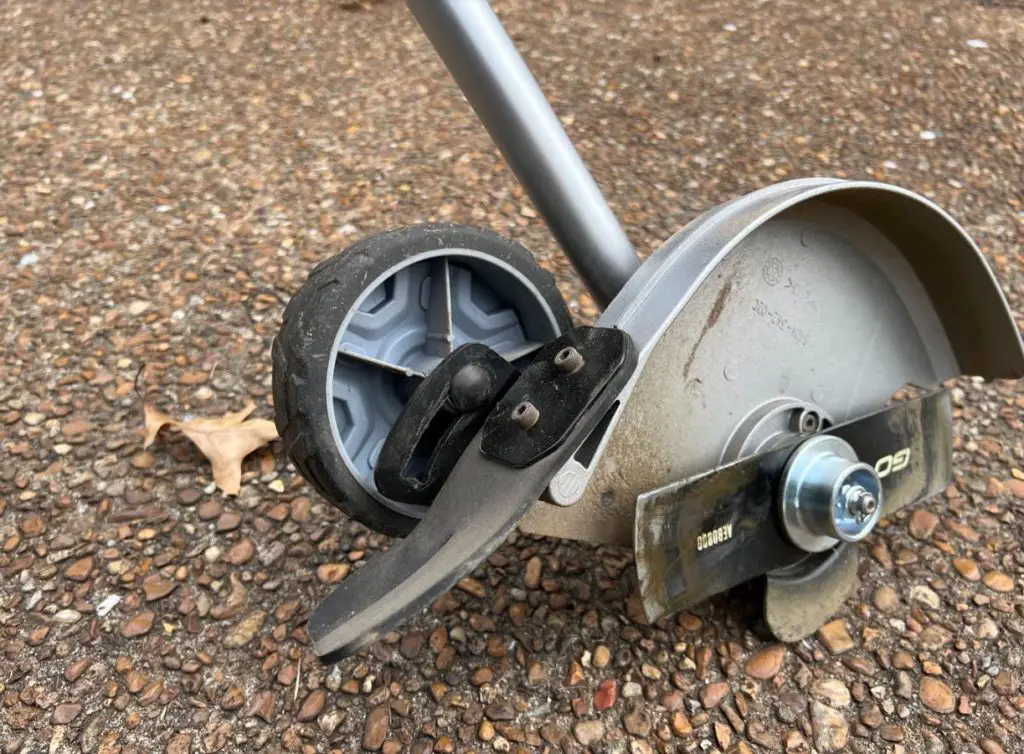
As a shameless plug, I load it up with The Lawn Review brand weed eater string.
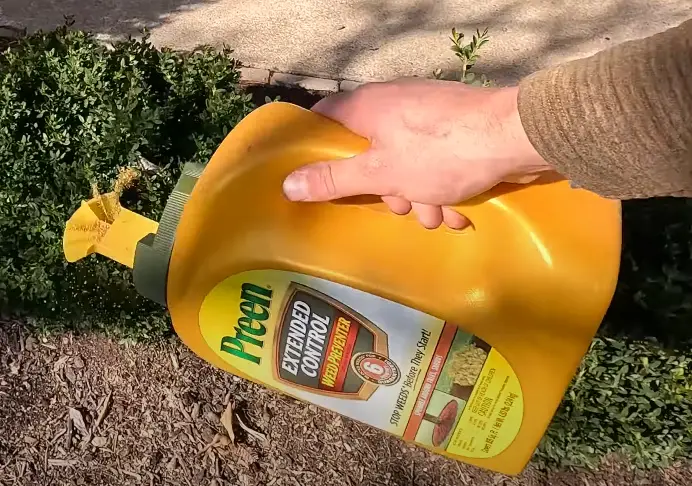
Tip #4: Use Preen to kill and prevent weeds
Prevent weeds from popping through the mulch. This stuff is great, it’s weed control specifically for garden beds that keeps your bushes and flowers alive while getting rid of unwanted clovers, dandelions, and other weeds. I like to use it before I lay down the mulch so it has a better chance of getting down to the weeds roots and getting rid of them before they become a bigger problem. I typically do this once every six months, being in the Spring and Fall.
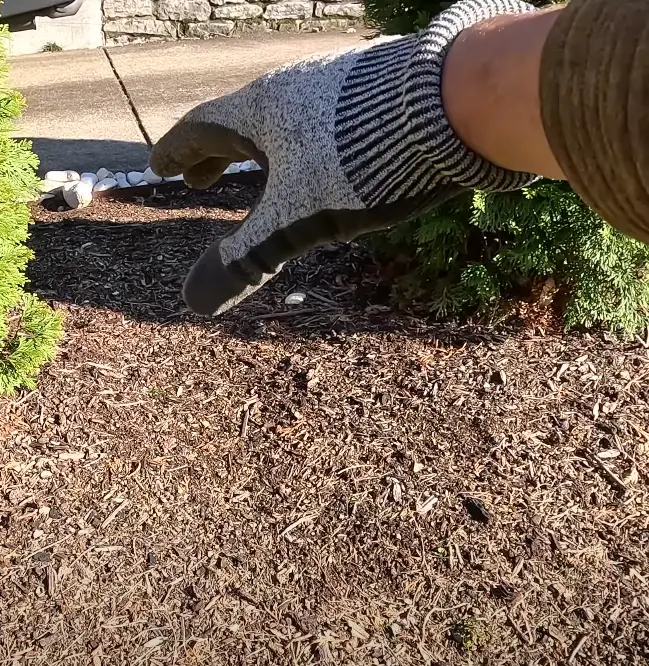
Tip #5: Make a crown, not a mountain
When mulching around plants, trees, & bushes – if you make a mountain with your mulch, meaning it just piles up to your plants, you will cause water to run away from your plants and deprive them of water. Use your hand to create a bowl or a crown, where the water will sit in the bowl and drain directly downward and into the root system.
Tip #6: Don’t overdo it.
If you’re creating a new mulch bed, sure, put down 3-4 inches of mulch to get started. That’s not necessary on existing beds. That would be incredibly expensive, time consuming, and potentially hurt your plants. The plants need oxygen, and if you keep laying it on thick year over year, your plant’s roots won’t be able to get the oxygen they need. Existing beds should only need a fresh ~1 inch layer to do the trick. Use your judgment on this one.
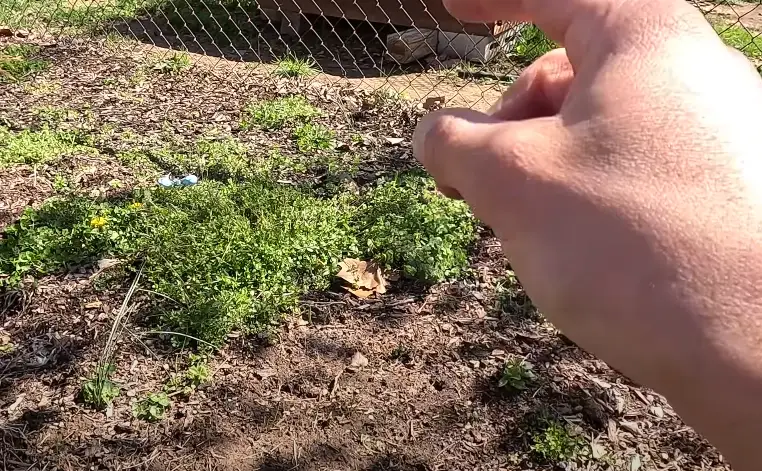
Tip #7: Pull weeds before you put down mulch
You don’t need to get every weed, but get the vast majority of them. You don’t want thick weeds and things popping up through your mulch. So get a clean canvas, pull the weeds, pick up any debris, big sticks, etc. before you get going.
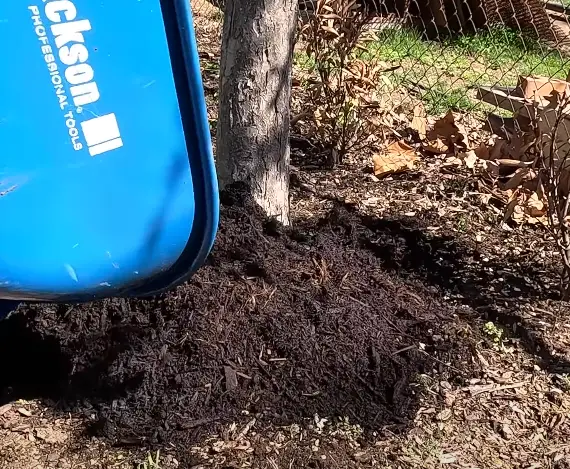
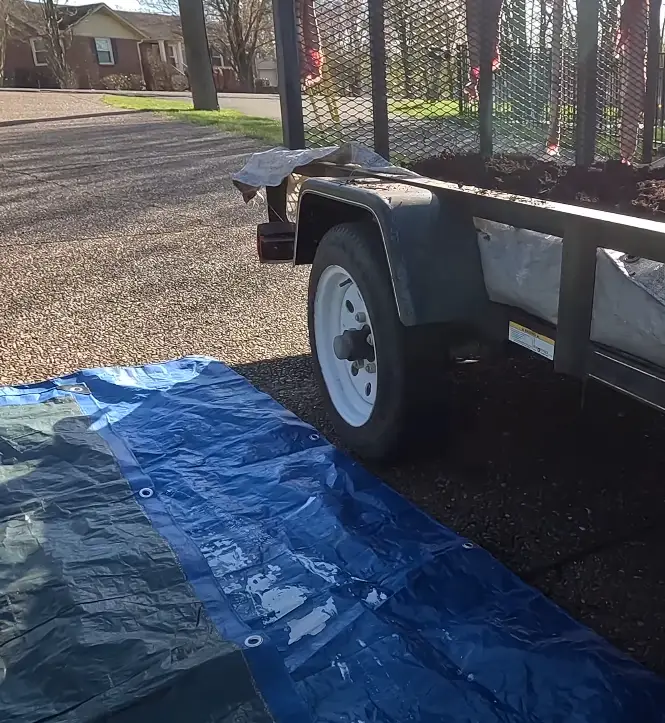
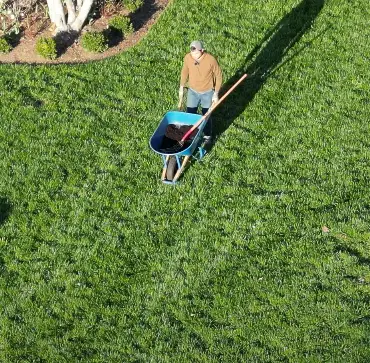
Tip #8: Load your wheelbarrow of mulch over a tarp
This makes cleaning up a breeze. After mulching all day, you probably don’t want to spend a ton of time just cleaning up a drive covered in dirt. Load over a tarp and you can easily dump the tarp into your beds.
Tip #9: Don’t tread over the same turf when towing mulch
Even if it means taking the long route to where you’re going to apply mulch, you don’t want to walk over the same grass over and over and risk killing the grass when you use your wheelbarrow.
Tip #10: Work back to front with mulch
If you lay down mulch in the font, you’re then going to have to push the wheelbarrow or walk over the freshly laid mulch to dump it. Since it hasn’t had time to set, it can be harder to push over that. Plus, you don’t want to tread over your fresh layer. So go all the way to the back, dump it there, then work your way to the front.
Time to get mulching
There you go, 10 Tips for Mulching in the Spring. And hey, I threw in 3 benefits for you as a bonus… because I’m incredibly generous (and humble) like that.
I hope these tips help you cut down on costs, save some time in the yard, and most importantly, give you that curb appeal you desire.
If you want more tips, tricks, tool reviews, DIY guides, etc., make sure to subscribe to our Youtube Channel where you’ll get our latest content.
Til’ next time!
Why we created The Lawn Review
The reason we started the Lawn Review in the first place was because we had so much trouble trying to find reasonable, understandable, honest reviews for lawn equipment. And they aren’t cheap! After hours and hours of research, trying products and returning them, and messing up our yards – we started this site.

As people who had to learn the hard way, we want you to know exactly what you are signing up for before you purchase a piece of equipment. That’s why we are committed to providing honest, easy-to-understand reviews that mean something.
There’s tons of great resources out there for people who really like to nerd out on lawn care and get into the fine details and science behind lawn care. If that’s your jam, guys like Ryan Norr and Lawn Care Nut will be right up your alley.
As for me and most readers of this blog, we don’t need to know how the sausage is made. Just tell me which sausage (er.. Lawn tools) is best & how to use the sausage… (that’s what she said…? Idk, there’s an explicit joke in there somewhere)