4 Things I Avoid Doing in My Summer Lawn Care Routine

summer lawn care routine

This summer you will want your lawn to look its best. However, there are some essential rules that I follow to keep my grass healthy and vibrant when the summer heat comes and threatens to destroy my lawn.

Today, I will discuss the key points from my Youtube video titled “Four Things You Should NEVER Do in Your Lawn in the Summer.” My expert insights will help you maintain a lush, green lawn all summer long.

Keeping your lawn in top shape during the summer involves a few key strategies. 

  1. Water your lawn deeply and infrequently to encourage strong root growth. 
  2. Avoid the temptation to mow your grass too short; instead, maintain a higher mowing height to protect your lawn from the harsh summer sun. 
  3. Don’t forget to fertilize your lawn, as it still needs nutrients to thrive during this season. 
  4. Be cautious about heavy foot traffic and take steps to protect your grass in areas prone to high use.

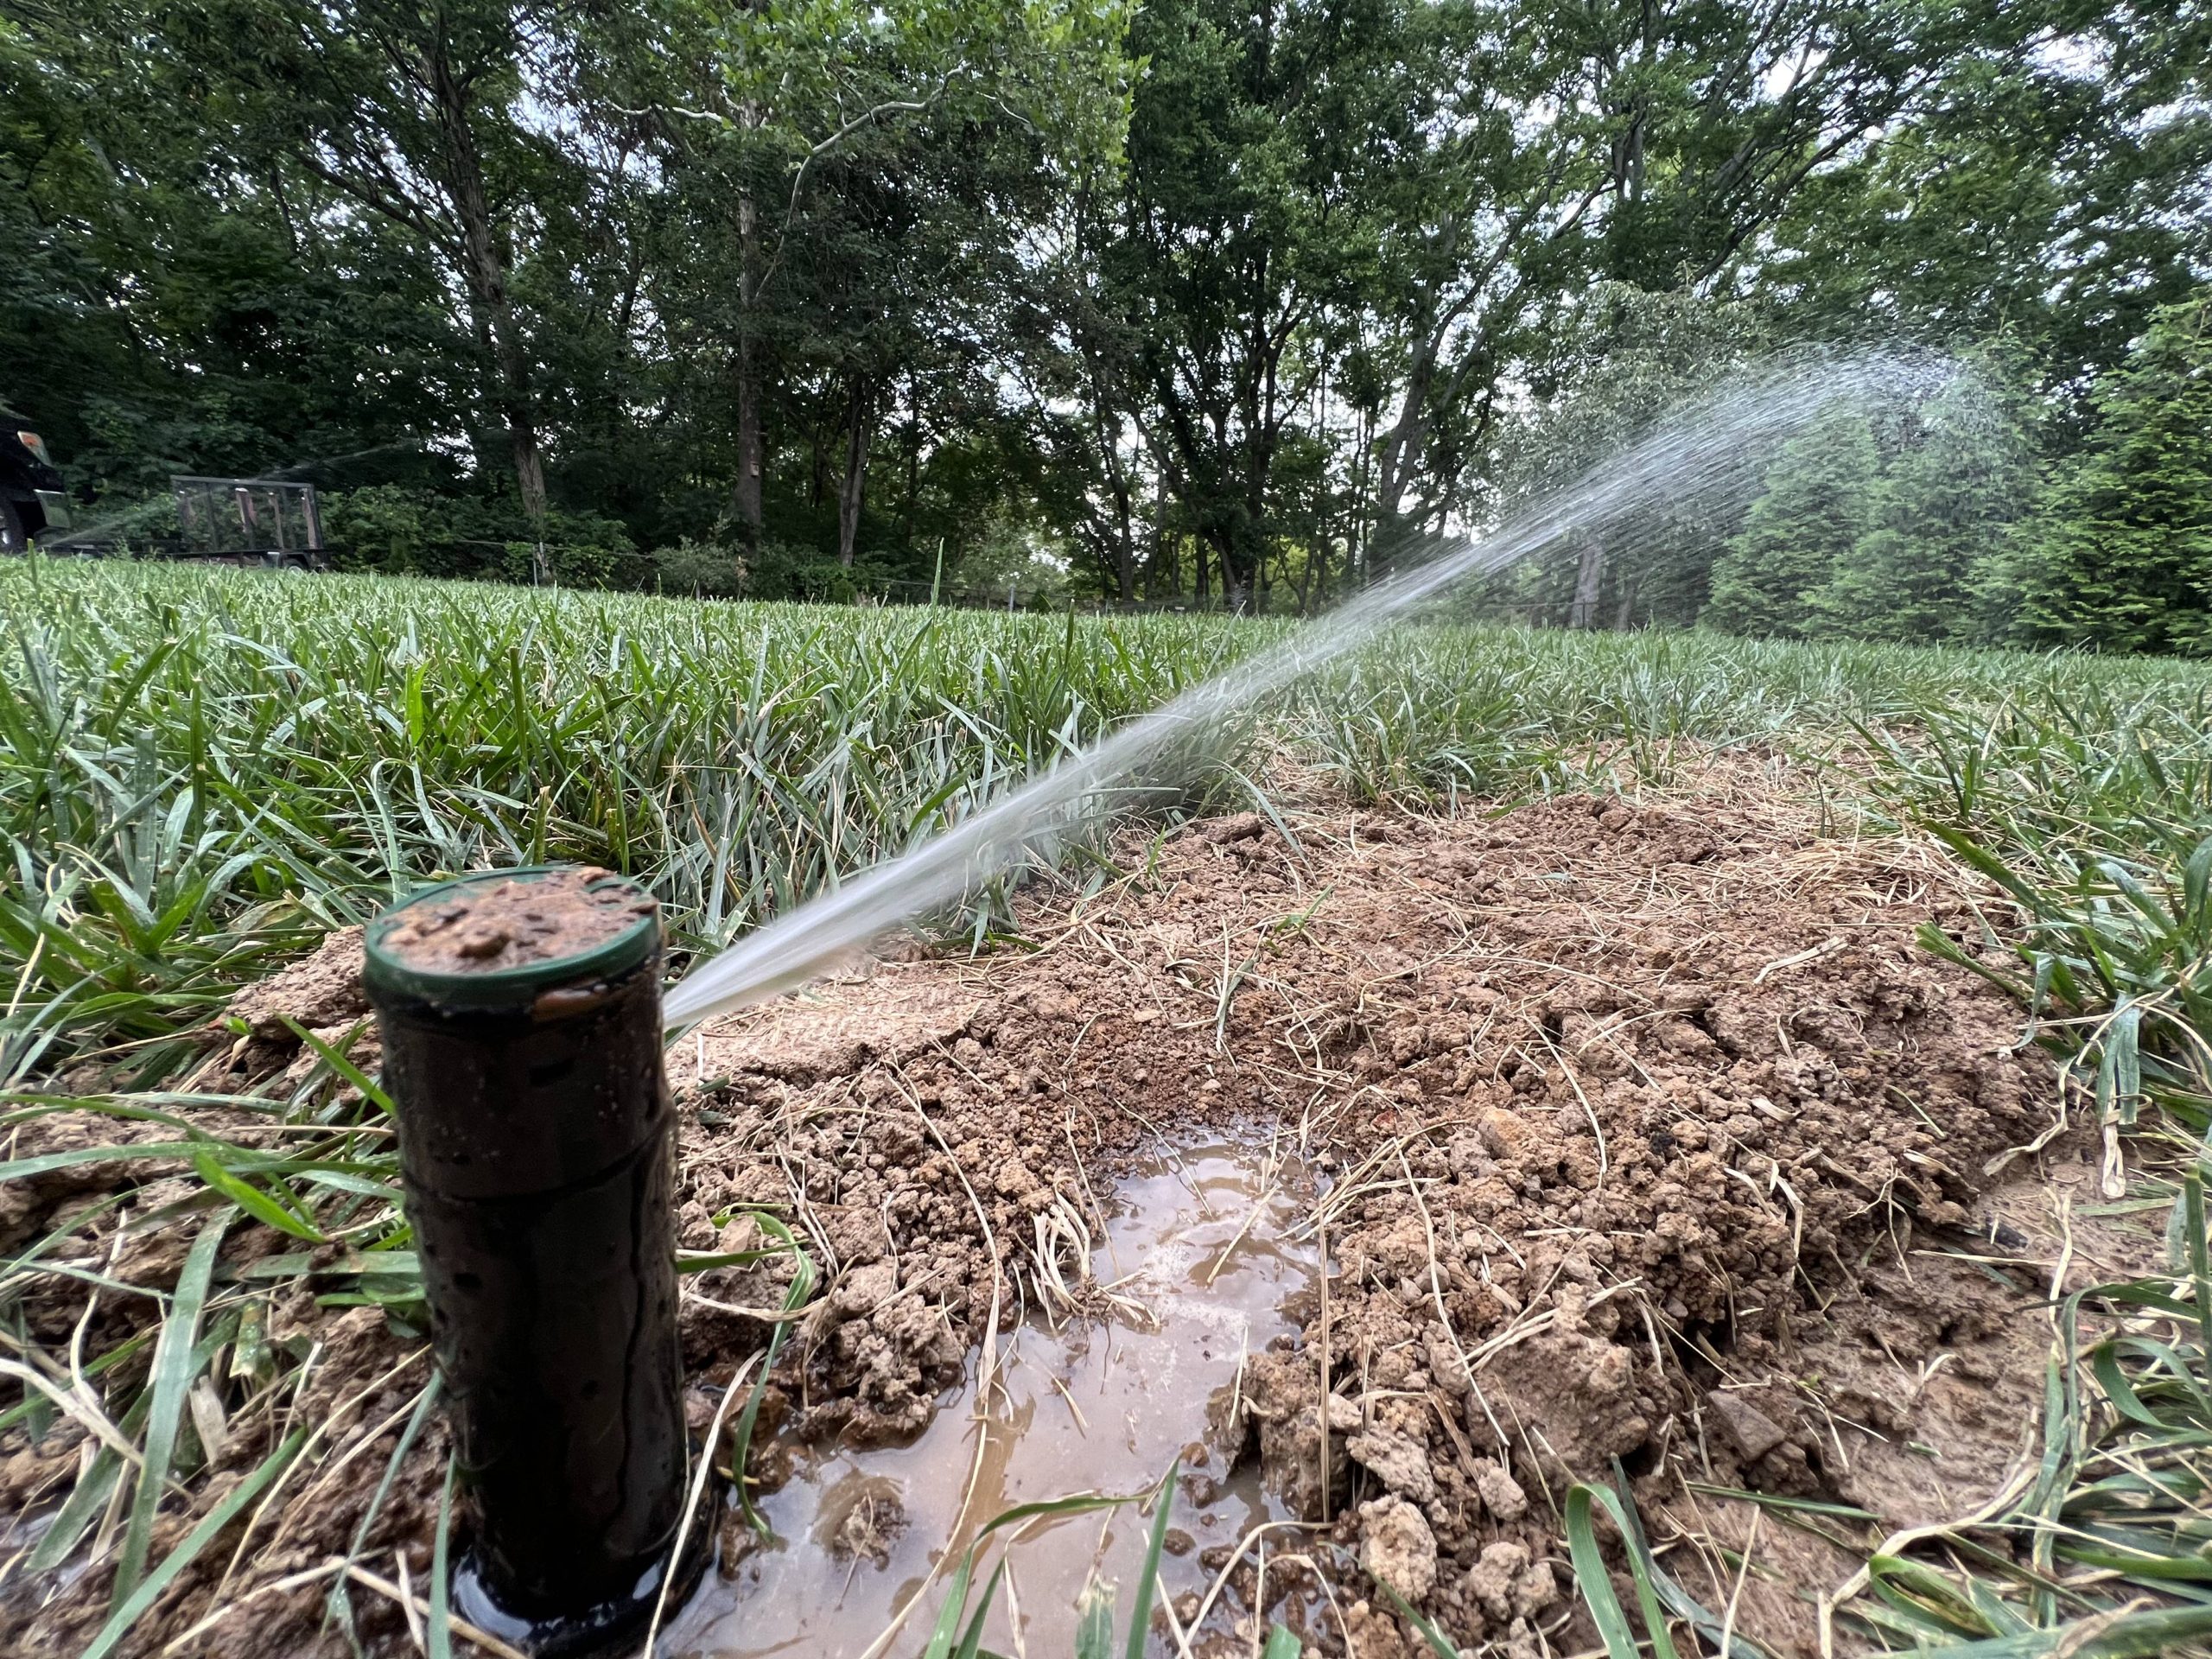
Proper Lawn Watering During Summer Months

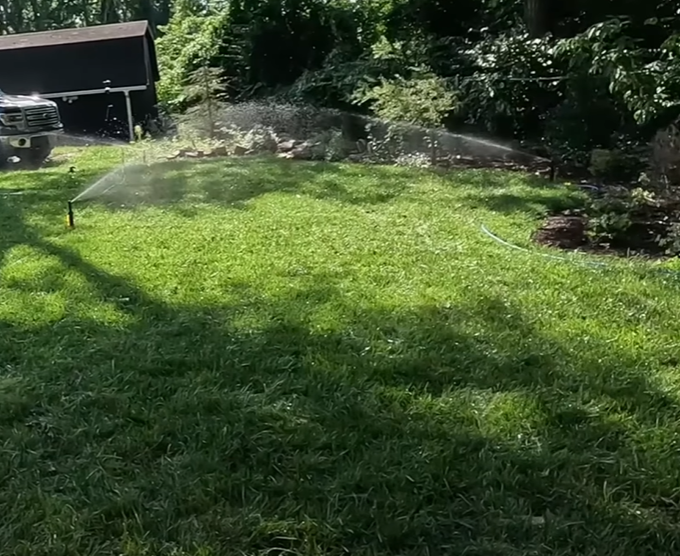
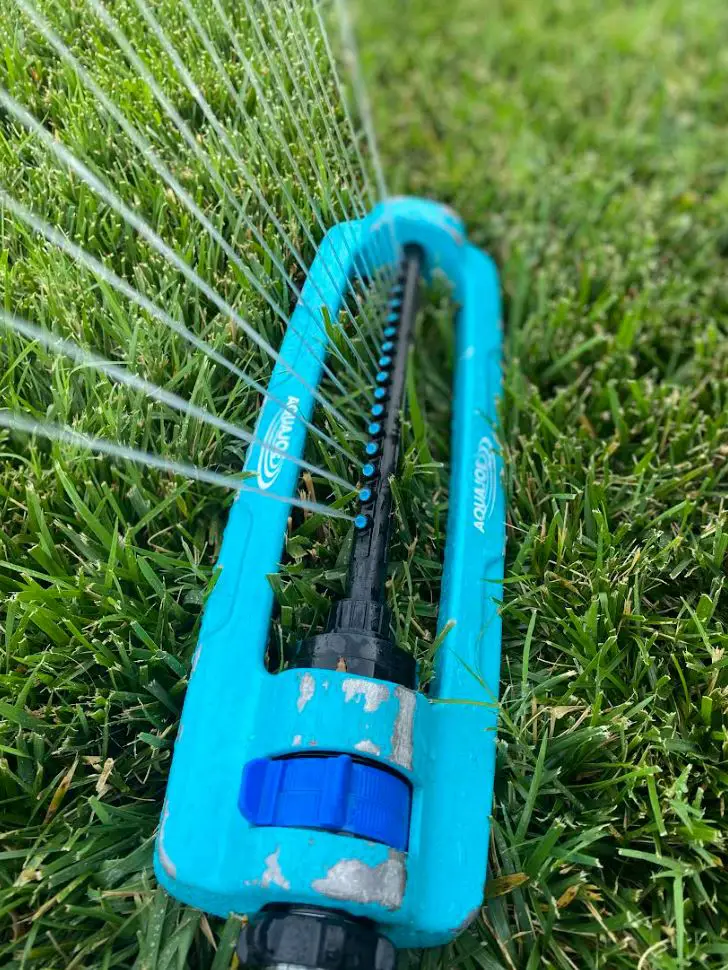
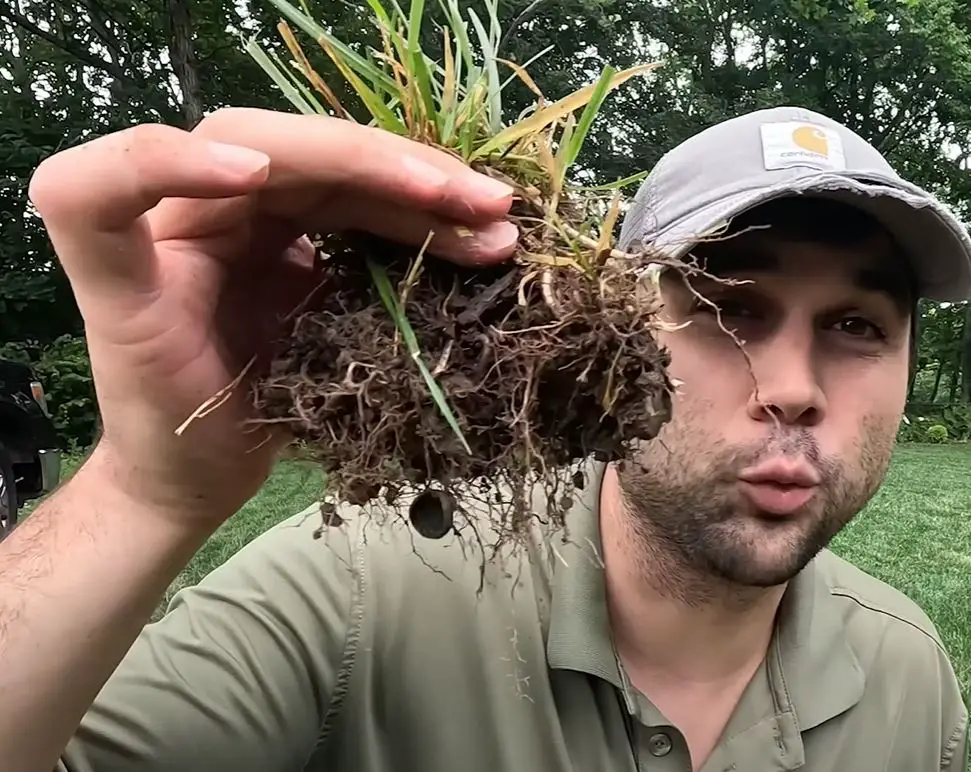
One of the most crucial aspects of summer lawn care is watering. Contrary to popular belief, I advise against daily watering, as it can be detrimental to your turf and its roots. 

Instead, I opt for deep and infrequent watering. Here’s why: frequent shallow watering promotes shallow root growth, leaving your lawn more vulnerable to drought and heat stress. By watering deeply once a week, you encourage your grass to develop deep, strong roots that can access water stored in the soil.

Deeper roots produce thicker, healthier, happier grasses that will be durable throughout the summer and prevent invasive grass and weed growth.

Mow High, Not Low During Summer Heat

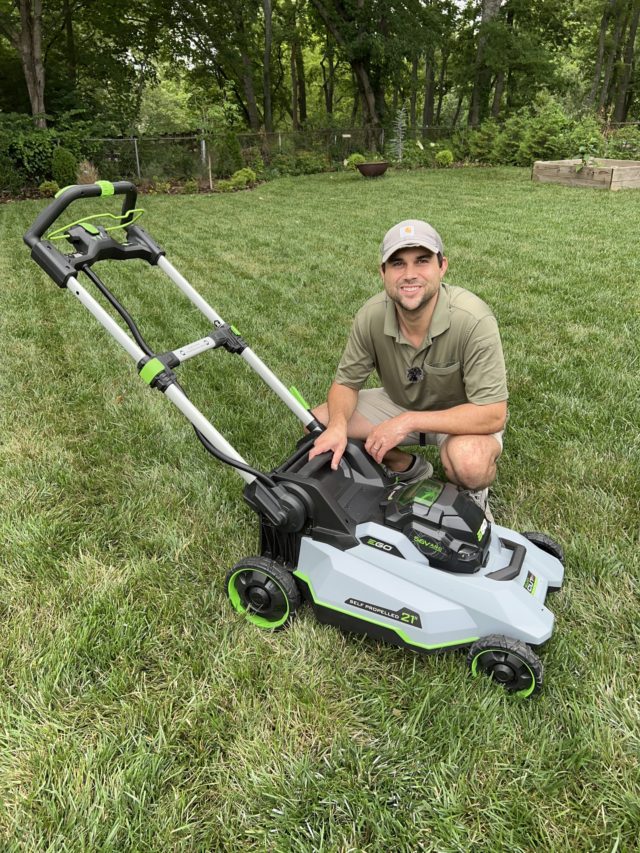
While you might be tempted to give your lawn a close cut during the summer, this is a mistake. Mowing your lawn too short can put significant stress on your grass, making it more susceptible to damage from the sun and pests. 

Crank the height up!

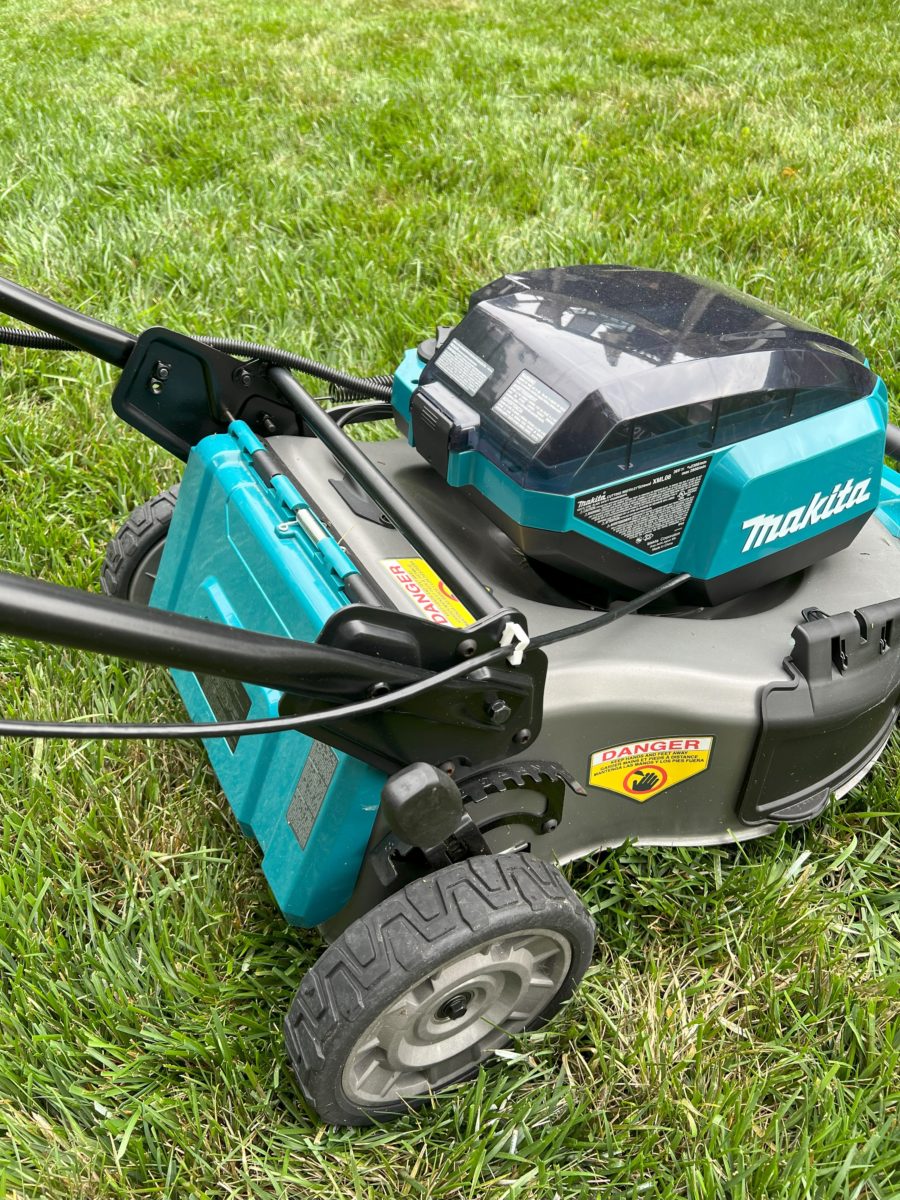
I recommend mowing your grass at a higher setting on your lawn mower. This keeps the grass blades longer, providing more shade to the soil and roots while helping to retain moisture. Taller grass also helps inhibit weed growth, as it competes more effectively for sunlight.

If you have bermudagrass or other warm season grasses, you still want to mow higher than you might think even though these require shorter cuts than cool season grasses.

Don’t Skip Fertilization in the Summer

Summer is not the time to neglect your lawn’s nutritional needs. Fertilization is crucial even during the warmer months. I always emphasize the importance of feeding your lawn. 

Properly timed and balanced fertilization ensures that your grass has the nutrients it needs to thrive, promoting healthy growth and vibrant green color. Make sure to use a summer-specific lawn fertilizer, as it is designed to meet the unique needs of your grass during this season.

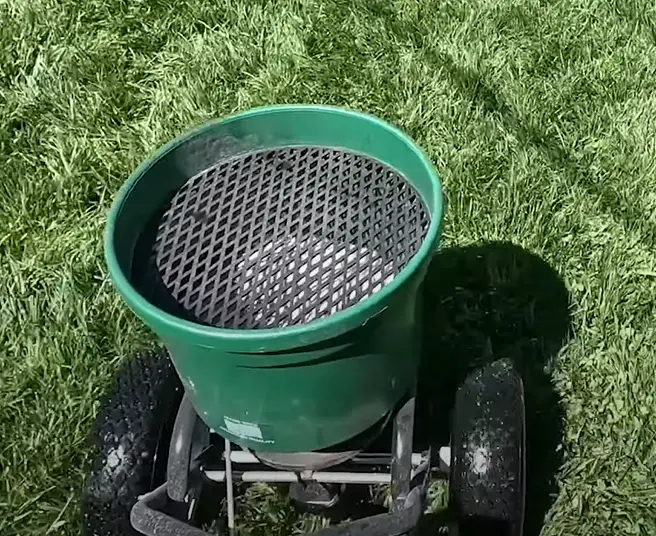
I used to throw my hands up in frustration during the summer as it seemed like putting any type of fertilizer down was a waste. But with the proper watering schedule and appropriate fertilizer, you can make a solid green yard even on the hottest days.

Avoid Heavy Traffic in Your Lawn

Summer often means more outdoor activities, which can lead to heavy foot traffic on your lawn. While it’s fun to play games, host gatherings, or enjoy picnics in your yard, too much activity can damage your grass. I suggest being mindful of where and how you move about your lawn – while still enjoying it.

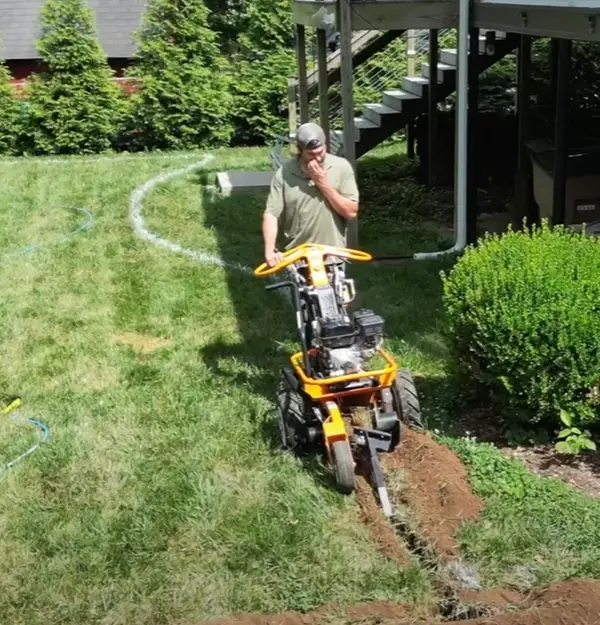
Solution: consider creating designated paths or areas for high-traffic use to minimize the wear and tear on your grass. This simple step can help preserve the health and appearance of your lawn throughout the summer.

For me, it was putting down pavers in the most worn paths of my yard that helped keep my kids off of the grass.

Final words: Keeping a healthy summer lawn

In reality, I had to learn this stuff the hard way after breaking every single one of these rules at one time or another.

By following these tips from my video, you’ll be well on your way to maintaining a beautiful, healthy lawn all summer long.

Orbit Sprinkler Review and DIY Installation Guide: 2024

Orbit’s In-Ground Sprinkler System was a super easy choice for me to buy. I love doing my lawn myself and getting this thing for super cheap on Amazon was enough motivation for me to finally set one of these up.

Whenever I used to pass by someone in my neighborhood with an in-ground sprinkler system, my immediate thought was always “can’t hide money!”. In-ground sprinkler systems and big money go hand-in-hand. But let me tell you what – it doesn’t have to be that way. You can get a great system and set it up yourself for something I call “middle class fancy”. 

Let me explain more – or you can watch our full YouTube video guide here, where we tested the entire process.

Here are the quick steps for setting up your Orbit In-Ground Sprinkler System:

  1. Buy the system (duh)
  2. Test your hose faucet pressure
  3. Design your set-up
  4. Assemble the sprinkler heads
  5. Adjust the sprinkler heads to the right range
  6. Lay out the assembled system above ground
  7. Give it a test run
  8. Dig the sprinkler pathway
  9. Place system in and fill in the dirt.

Setting up the Orbit In-ground Sprinkler System

Let me walk you through exactly how I set up my Orbit in-ground sprinkler system from start to finish.

Step 1: Buy the system (skip if you’ve already done this)

Sounds obvious, but trying to do any pre-work here will majorly mess you up. Going out and digging up a pathway will only bite you in the butt if you haven’t bought the system yet. I got mine from Amazon and it was absurd how cheap the whole kit was. 

Step 2: Test your hose faucet water pressure

Fortunately, Orbit sends you a nice little pressure gauge that you can hook to your hose faucet that tells you how much water pressure your hose puts out. Simply screw this on, measure the pressure, and keep note of the measurement.

Just a warning here – if your pressure is below 35 PSI, this thing may be super wimpy and not worth it. If your PSI is above 80, then you may want a pressure reducer as it might be too strong for this system.

Step 3: Design your sprinkler set up

Orbit has a guide that correlates how much pressure your faucet puts out with how far apart you need to set up your sprinklers. Since mine was on the high end, I am putting each one of my sprinkler heads 24 feet apart. 

This takes some careful mapping and spacing in your yard. Orbit recommends a U shape in your yard for you to get optimal spacing and watering. I mapped mine out with some yard stakes to make sure it was all even Steven before doing any kind of digging. 


Quick tip: While mapping this out, let the blue hose that comes with the system lay out in your yard and relax and “melt”. This will help kill any tension once you start laying it down.

Step 4: Assemble all the sprinkler heads

The sprinkler head set up is pretty straightforward and provided in the attached instructions. You simply clip on the blue caps to the base hose adaptor connector and screw those on. I bought some plastic stakes and zip tied the sprinkler heads to those. I’ll explain more later.

Step 5: Adjust sprinkler heads

Once you’ve got your sprinkler heads attached to your stake and in the spot you want them in your lawn, remove the inner sprinkler component (with the green cap). Pull down the spring and set the parameters of the sprinkler. To do this, you get a flathead screwdriver and tighten it until you have a good range. 

This takes some trial and error to figure out exactly how this needs to be set up for your yard, but basically functions like a complex parameter range on any other sprinkler (even the oscillating sprinklers).

Step 6: Lay out the hose above ground

It’s really important to make sure you set up the full system before doing any digging. This means actually getting the hose out, cutting it, and connecting it to the sprinkler system. Orbit sends a nice tube cutter that lets you easily cut down the hose to the size you need. Some important tips here that I learned the hard way is to push the blue hose in as far as possible to make sure you don’t get leakage.

Step 7: Give the Orbit Sprinkler System a test run

Before you dig, make sure the system works! Connect it to your hose and let it run. Make sure there aren’t any leaks and that each spring-loaded sprinkler head actually does its job. This is a critical time to make any last minute adjustments to the sprinkler range.

Pro tip: Make sure you get that head-to-head coverage on your sprinkler. This is recommended by Orbit to ensure you don’t miss any spots and can fully get your yard soaked.

Step 8: Digging the Sprinkler System in

There’s a hard way to do this and a harder way to do this. The hard way is to rent a trencher and dig a nice trench to fill your hose in with. The harder way is to use a flat shovel and do it the old fashioned way. I chose to rent a trencher. 

This process took quite a while, but was definitely better than doing it with a shovel. It also gave me super clean, evenly distributed trenches to drop the hose down into. 

Pro tip: Dig 8-10 inches and put the pipe in for the best results.

Step 9: Refill the dirt

Once you’ve laid the pipe (no jokes, please), then simply test it out and then fill it back with dirt. This is another laborious process to get the dirt back into the hole, compact, and level. 

Orbit In-Ground Sprinkler System Review: My Experience

After getting it all set-up, I’ve actually loved having this sprinkler system in my yard. I’ve got it set up with a timer to run super early in the morning. After I got it installed, I haven’t had to touch any of the sprinkler heads (although it has only been a few weeks).

Mowing for the first time wasn’t too much of a hassle and the grass is starting to come back in on the areas I dug up. I’ll report back after more time has passed, but so far I am extremely pleased with how the set up is going.

This $200+ dollar system is a small item that makes you feel like you are rich. A really cheap way to get a great looking yard without having to go out there with a sprinkler and do it manually. 

Common questions and troubleshooting Orbit In-Ground Sprinklers

Here are some common questions I get (and had myself) when I first got my In-Ground Orbit System.

How do you adjust orbit in ground sprinklers?

You can adjust the range of the orbit sprinklers by opening the sprinkler head, pulling down the spring, and using a flathead screwdriver to adjust the range on the top of the sprinkler head.

How do I make my sprinklers shoot farther?

To get your in-ground sprinklers to shoot farther, you need to increase the overall water pressure in your hose faucet. Anything below 30 PSI will make for a very weak sprinkler.

Why is my Orbit sprinkler head not rotating?

If the Orbit sprinkler head is not rotating, there is likely dirt or debris stuck in the head. Open it up, clear it out, and ensure the appropriate rotation range settings are in place.

Why we review lawn tools

The reason we started this website in the first place was because we had so much trouble trying to find reasonable, understandable, honest reviews for lawn equipment. And it’s not cheap! After hours and hours of research, trying products and returning them, and messing up our yards – we started this site. 

As people who had to learn the hard way, we want you to know exactly what you are signing up for before you purchase a piece of equipment. That’s why we are committed to providing honest, easy-to-understand reviews that mean something.

How Long Should Lawn Sprinklers Run?

We recommend letting your sprinklers run for about 30 to 40 minutes per watering session, two to three times per week.

Unless you live on the lush Big Island of Hawaii, you probably have to water your lawn throughout the year. Chances are, you have impact, oscillating, or stationary sprinklers that keep your lawn hydrated and green. 

But watering your lawn doesn’t always mean you’ll have the best-looking yard on the block. For example, overwatering your lawn can lead to suffocation and stunted root growth. In other words, watering your lawn too much can leave it looking like a swamp. On the other hand, not watering your lawn enough will leave you with a brown yard.

What’s the happy medium?

The Ultimate Lawn Sprinkler Run Time

We recommend letting your sprinklers run for about 30 to 40 minutes per watering session, two to three times per week. Therefore, you should let your sprinklers run a minimum of one hour per week and a maximum of two hours. This obviously doesn’t apply to winter months when your lawn is covered in snow, nor does it apply if you receive a decent amount of rainfall.

The key here is to let the water saturate the soil so that roots can grow deeper. This gives you a better looking lawn but also a much healthier root base for your grass.

It’s also a good idea to turn on your sprinklers earlier in the morning when it’s cooler, making it easier for the roots to absorb the water.

If you’ve recently placed down sod, then check out our guide on how to care for a new sod lawn. You want to lighten up on the sprinkler run time so that you don’t build up fungus in the sod. 

The 4 Best Budget Lawn Sprinklers for 2024

Now that I’ve revealed the secret of how long lawn sprinklers should run, I will share the best lawn sprinklers for 2023. A new year, a new sprinkler – is that how that saying goes? 

1. Aqua Joe Oscillating Sprinkler

If you want the best bang for your buck, you can’t go wrong with the Aqua Joe Indestructible oscillating sprinkler. This sprinkler comes in two sizes – a 16-inch and 20-inch option. The 16-inch device covers up to 3,600 square feet of lawn, and the 20-inch alternative covers 4,400 square feet. Aqua Joe claims that the sprinkler’s size has the largest size-to-spray distance ratio on the market. I love that the sprinkler doesn’t clog and it doesn’t overspray, meaning no more wasted water. 

It’s indestructible.

I’ve also dragged this thing across my yard more times than I can count and it is banged up but  still works beautifully. It’s also super easy to set up and find the right spray pattern for your yard.

I recommended this one to my dad recently because he was in the market. He got it off Amazon for a ridiculous price and has loved it for his front yard. You can grab it on Amazon here like we did.

2. Segomo Tools 360 Degree Automatic Rotating Garden Sprinkler

This Segomo does a 360 as it sprays every corner of your yard. A single sprinkler covers 3,600 square feet, but you can also get your hands on a two-pack for 7,200 square feet of coverage. I don’t know about you, but I’ve dealt with tons of sprinklers that seem to wobble with every gust of wind. The Segomo sprinkler doesn’t have that problem thanks to its heavy-duty premium ABS material and solid base. Basically, it is solid and heavy.

To add the cherry on top, the sprinkler comes with two rubber gaskets and a 1 x ½” quick hose connector.

Riding spinners – they don’t stop.

The cool thing about this is that you can just plop it in your yard and let it go crazy. This is definitely for Type B people who just want to get their yard covered without being precise. 

I like it because it is kind of crazy and you can get it for a great price on Amazon.

3. Kadaon 360 Degree Garden Sprinkler

Another contender in the 360-degree category is the Kadaon 360 Degree Rotating Lawn Sprinkler. I’ll preface by saying that this product isn’t as highly rated as Aqua Joe, but it is a great budget sprinkler set up. These types of sprinklers aren’t going to last forever, but have the benefit of doubling as an awesome sprinkler for your kids or pets (my dog used to try to fight the sprinkler). 

It’s cheap and it works.

So, what’s all the hype? This sprinkler features a three-arm design with an ABS plastic rotary. It boasts a patented water-saving design and a large coverage area. This sprinkler isn’t just for watering your grass either; it makes a great pass time for kids.

This thing is a dang steal. It’s really similar to the 360 spinner up above, but it sticks into the ground, is slightly weaker, but is an insanely cheap price on Amazon.

4. Melnor 65074-AMZ XT Turbo Oscillating Sprinkler

This Melnor sprinkler actually went into a face-off with our Aqua Joe indestructible sprinkler. The results were confusing.  Both have a similar spray pattern and  similar coverage. I like that the Melnor is slightly better for being precise with spray patterns, allowing you to expand the spray pattern horizontally to adjust the width. 

I like the Aqua Joe because it is heavier, simpler, and truly indestructible. 

It was a close battle.

So it’s a tough one. The Melnor oscillating sprinkler here is a great sprinkler (I own both), so you really can’t go wrong with it. To me, it just comes down to price. Both go on sale frequently on Amazon, so check the price of the Melnor to see which is better.

Frequently Asked Questions about lawn sprinklers

Curious to know more about lawn sprinklers and watering your yard? Here are some of the most commonly asked questions we get about lawn sprinklers.

How much does it cost to have in-ground sprinklers?

Depending on the size of your property, you can expect to pay between $1,500 to $3,000 for inground sprinklers. Fortunately, in-ground sprinklers can help increase your home’s value because they operate efficiently and keep up your curb appeal. 

What time of the year should you water your grass?

Most homeowners in the United States water their lawns after winter – when the snow melts and the grass underneath slowly reappears. However, you may not need to water your grass during the spring if you live in a moist climate, such as the Southeast or Midwest. The same is true in the summer. Summer is a time of sporadic weather, and sometimes there are dry spouts, while other times there are endless days of rain. 

In summary, you should water your lawn starting in spring through the fall, but can you scale back on the watering if there are higher-than-normal levels of precipitation

Can you water your grass too much?

Yes, you can easily water your grass too much if you aren’t careful. If you notice water running off your yard, there’s a good chance you’re overwatering. In addition, overwatering your grass can cause it to feel spongy and promote weed growth. Worst of all, creepy crawlers will flock to your lawn, which may require an exterminator visit.

How Long Should Lawn Sprinklers Run: A Recap

The general rule of thumb is that lawn sprinklers should run two to three times per week and for 30 to 40 minutes per session. However, this rule isn’t exactly set in stone. You may need to water your grass more during a drought or less during periods of high precipitation. And if you don’t have the right sprinkler for your yard yet, be sure to check out my list of the best lawn sprinklers for 2023. 

Why we started this site

We started The Lawn Review out of frustration. We couldn’t find clarity around what type of products were actually good and reliable. All the fertilizers we tried didn’t work. We ended up with a dying lawn, wasted time, and wasted money.

So we started buying and reviewing lawn tools and figuring out which ones were the best. And now we’ve moved onto actually keeping that lawn looking nice all year around. 

How we spend our time.

We’ve spent thousands of hours building this content for people just like you and me – normal people.

Exit mobile version