Best Time To Aerate and Overseed Lawn: 2024 Update

when to aerate and overseed

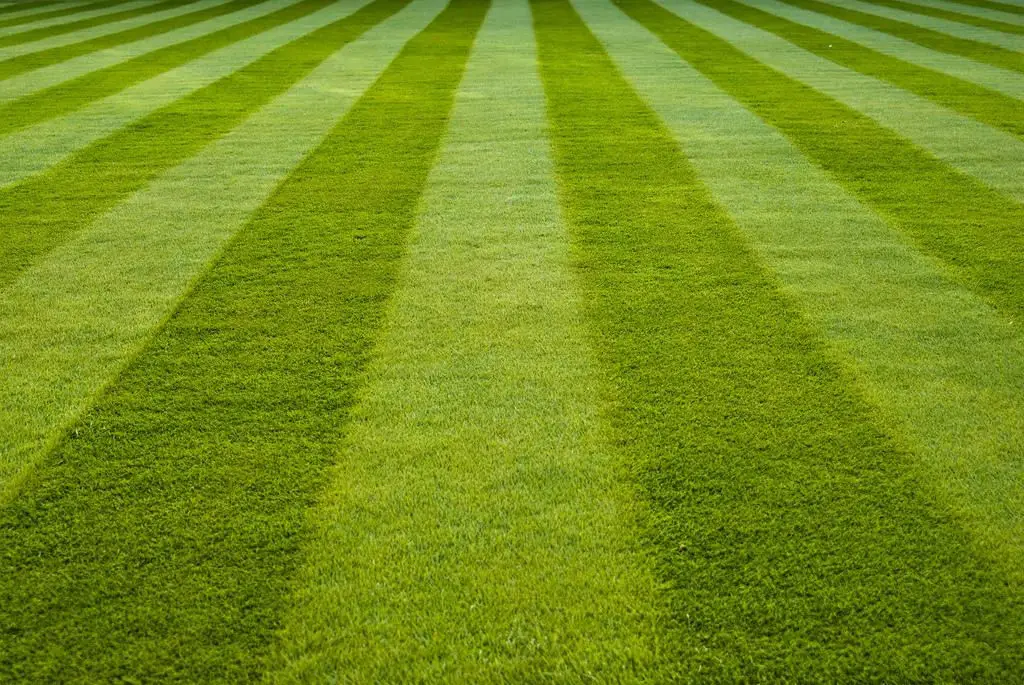
Learning how and when to aerate and overseed your lawn is critical to a beautiful lawn that makes your neighbors jealous. Remember: you reap what you sow. And the window for sowing the perfect lawn isn’t open year-round.

Today we are going to walk through the difference between aerating and overseeding, when is the best time aerate and overseed, and give you some insight on how we get this done each year.

Jump ahead:

Let’s get started!

Aerating vs Overseeding

Aeration consists of perforating soil with small holes, allowing nutrients and water to seep inside and reach the roots of the grass. This technique promotes healthy and nourished grass, leaving your lawn green and lush. If you don’t aerate your lawn, the soil can become compact, which can deprive the grass of the key nutrients it needs to flourish. Grass that isn’t aerated is particularly susceptible to the elements (extreme heat and drought, for example). 

You can use a big time aerator like this one we rented from Home Depot.

You can decipher whether your lawn needs aeration by examining the soil. If the soil is hard or has a spongy texture, it’s time to aerate. Thin grass losing color is another telltale sign that you need to aerate your lawn.

Overseeding generally accompanies aeration. You add grass seeds across the entire yard when you overseed your lawn. The goal of overseeding is to regrow grass in areas where it is damaged or thinning. Now you may wonder, “do I have to aerate my lawn before I overseed it?”

The answer is yes; it’s best to aerate your lawn before overseeding because aeration helps the soil absorb nutrients and gives it fresh, overturned soil to thrive in. Aerating after overseeding can be massively disrupt to new seedlings.

Overseeding using a broadcast spreader.

The Best time to Aerate and Overseed

If you have cool season or transitional grass, the best time to aerate and overseed your lawn is the early fall. During the early fall, the temperature is cooler while the soil is still warm. This combination allows your lawn to recover quickly and see the most benefit from the aeration and overseeding. Cool season grass truly thrives during the fall months and gives your seeds the best chance of survival.

A general guide to grass zones.

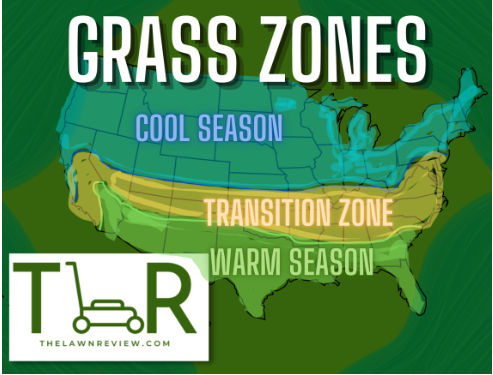
If you have warm season grass, early-to-mid spring is the best time to aerate and overseed your lawn. Warm season grasses thrive in the summer so you want to give them time to germinate. This allows a root system to begin to form and for the grass to start living it up when the warmer temperatures arrive.

Don’t know your grass type? Reference this!

If you are noticing your grass starting to have brown tips, check out our guide on how to sharpen your mower blades.

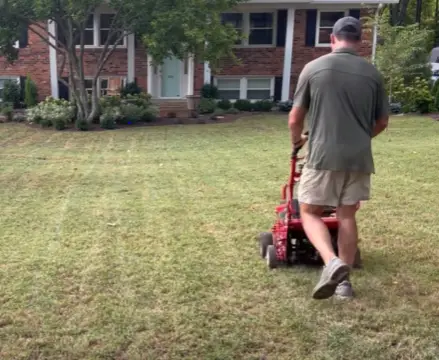
Do-It-Yourself Lawn Aeration

While lawn aeration is typically a job left to the professionals, it doesn’t have to be. In fact, you can take lawn aeration into your own hands (literally). But before you hit the ground running, you should understand the cost of DIY aeration techniques and the effort required.

Our process is typically:

  1. Scalp your lawn – cutting it very short allows for the best preparation for overseeding and will allow more soil to be dug up through the aeration process. Make sure to bag the clippings to not choke your yard.
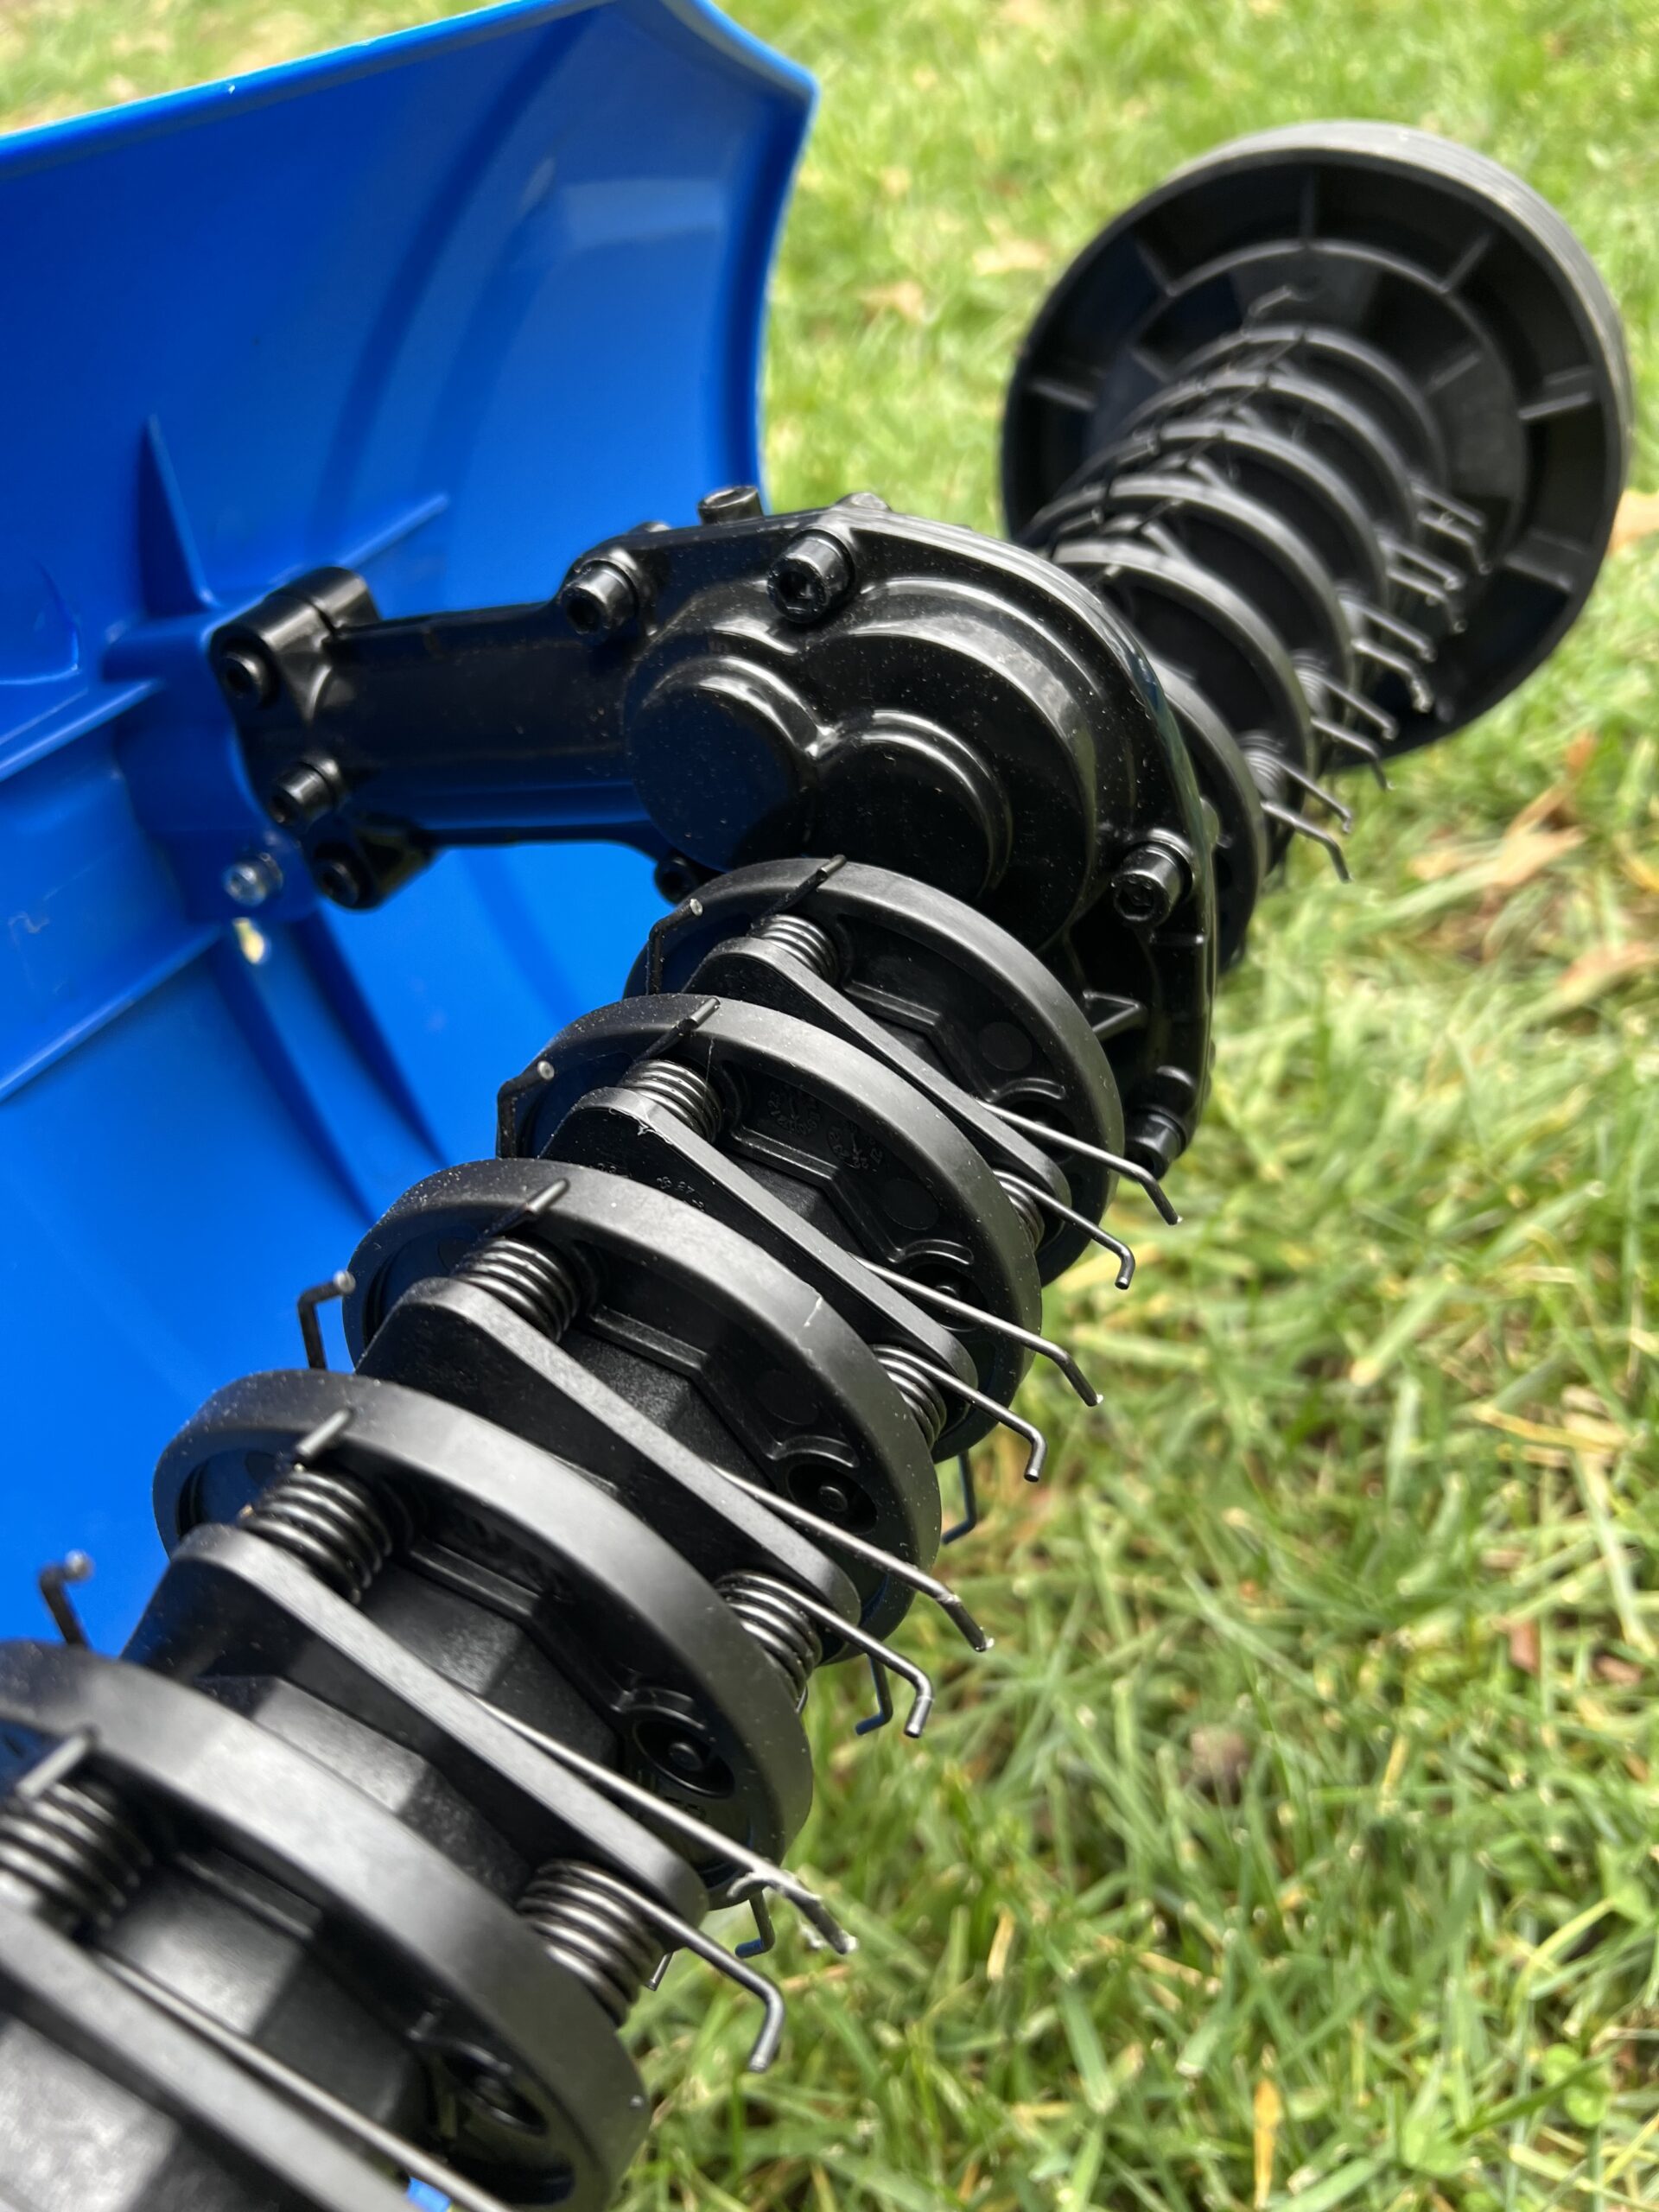
  2. Use a dethatcher to dig up all the dead grass off of the surface of your yard. Dethatchers and aerators are different, but compliment each other very well.
  3. Rent a gas-powered aerator from Home Depot. It helps to go in with a few neighbors to rent one and split the cost. There are also lawn tractor pull-behind aerators that work really well, too.
  4. Use the aerator to go over every square inch of your yard, pulling up old

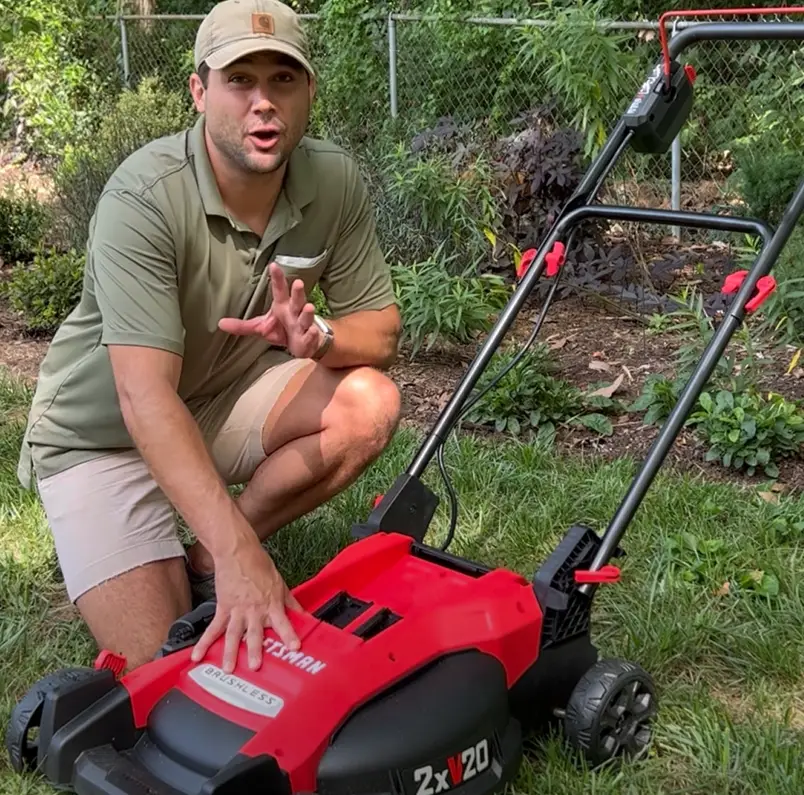
One of the most popular DIY dethatcher products is the Sun Joe Dethatcher. This electric aerator and dethatcher is extremely satisfying and works wonders despite looking kind of dinky.

The Kobalt dethatcher attachment.

If you’re looking for a great workout and to be made fun of by your neighbors, you can also aerate your lawn with DenForste Lawn Aerator shoes, also available on Amazon. I’ll preface by saying you’re in store for a serious workout if you use these shoes. I definitely don’t recommend using them for a larger yard and suggest aerating when the temperature drops in the evening. On a positive note, the shoes have a solid aluminum base and spikes that won’t bend. And while the idea of aerator shoes sounds far-fetched, Amazon reviewers seem to dig these shoes.

Want to learn more about the difference between an aerator, dethatcher, and scarifier? Check out my guide that explains the difference between the three and how to use them. 

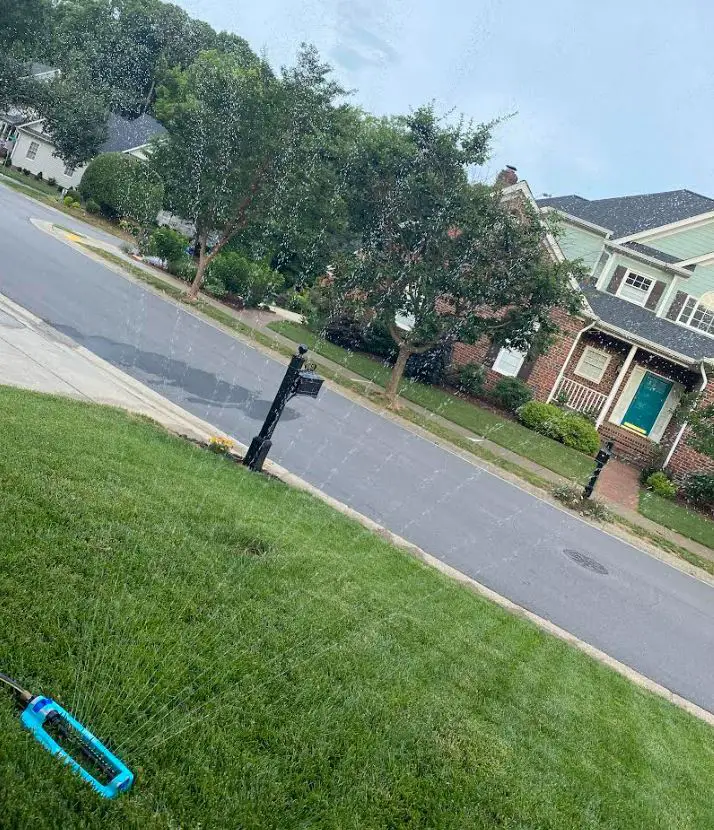
Do-It-Yourself Overseeding

Do-it-yourself overseeding is a lot easier than aeration. But remember, depending on the soil quality, you may need to dethatch or aerate your lawn first.

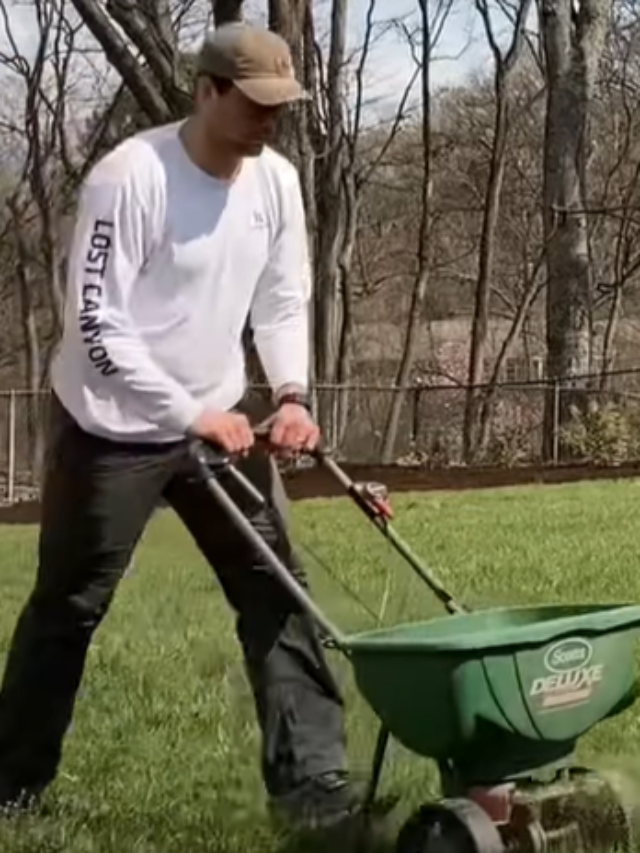
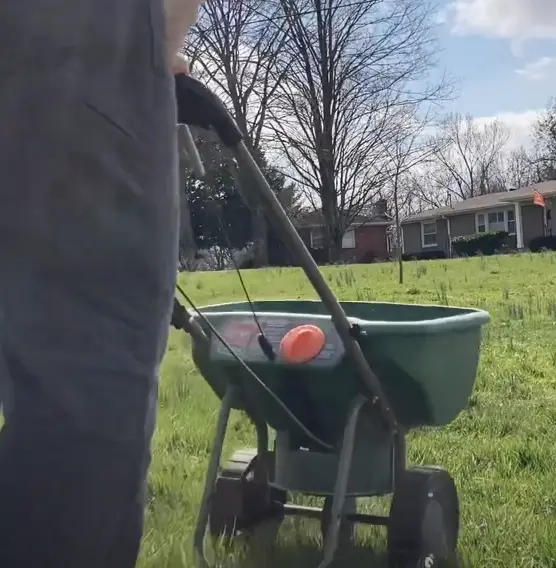
Once your lawn is ready-to-go, I recommend getting your hands on a Scotts Turf Builder Broadcast spreader. This handy device makes it mind-blowingly easy to overseed your yard and holds up to 15,000 square feet of product.

You can also use a handheld spreader if you have a smaller yard or only need to overseed a few concentrated areas of grass.

We recommend using Anderson’s seed for your lawn based on personal experience. Scotts has some good cheap stuff, but we’ve found it typically is contaminated with random grasses or weeds (and it says so on the bag)

Frequently Asked Questions about Aerating and Overseeding

Everyone has some natural curiosity about aeration and overseeding. If you’re eager to know more about the ins and outs of this all-important lawn care technique, take a look at some of the most frequently asked questions below.

How Much Does It Cost to Aerate Your Lawn?

You can expect to shell out anywhere from $150 to $230 to aerate your lawn, depending on where you live and the size of your property. If you’d like a more precise cost estimate, multiply every thousand square feet of lawn by $17. For example, if your yard measures 5,000 square feet, you will pay around $85 to aerate your lawn (5 x 17). 

How Much Does It Cost to Overseed Your Lawn?

The cost of overseeding is about double the cost of aeration alone. In other words, a lawn care company that charges $150 to aerate a yard will charge $300 to aerate and overseed it. If you’re lucky, they may also throw in some fertilizer. 

Can You Aerate and Overseed Your Lawn by Yourself?

Yes, you can aerate your lawn by yourself using an at-home aerator or aerator shoes. However, these methods are much more labor intensive and may not be as effective as hiring a professional to do the job.

How Often Should You Aerate Your Lawn?

Most lawn care professionals recommend aerating your yard annually. However, some people can get away with doing it once every two or three years if they have sandy soil and healthy grass.

Lawn Aeration and Overseeding: A Final Glance

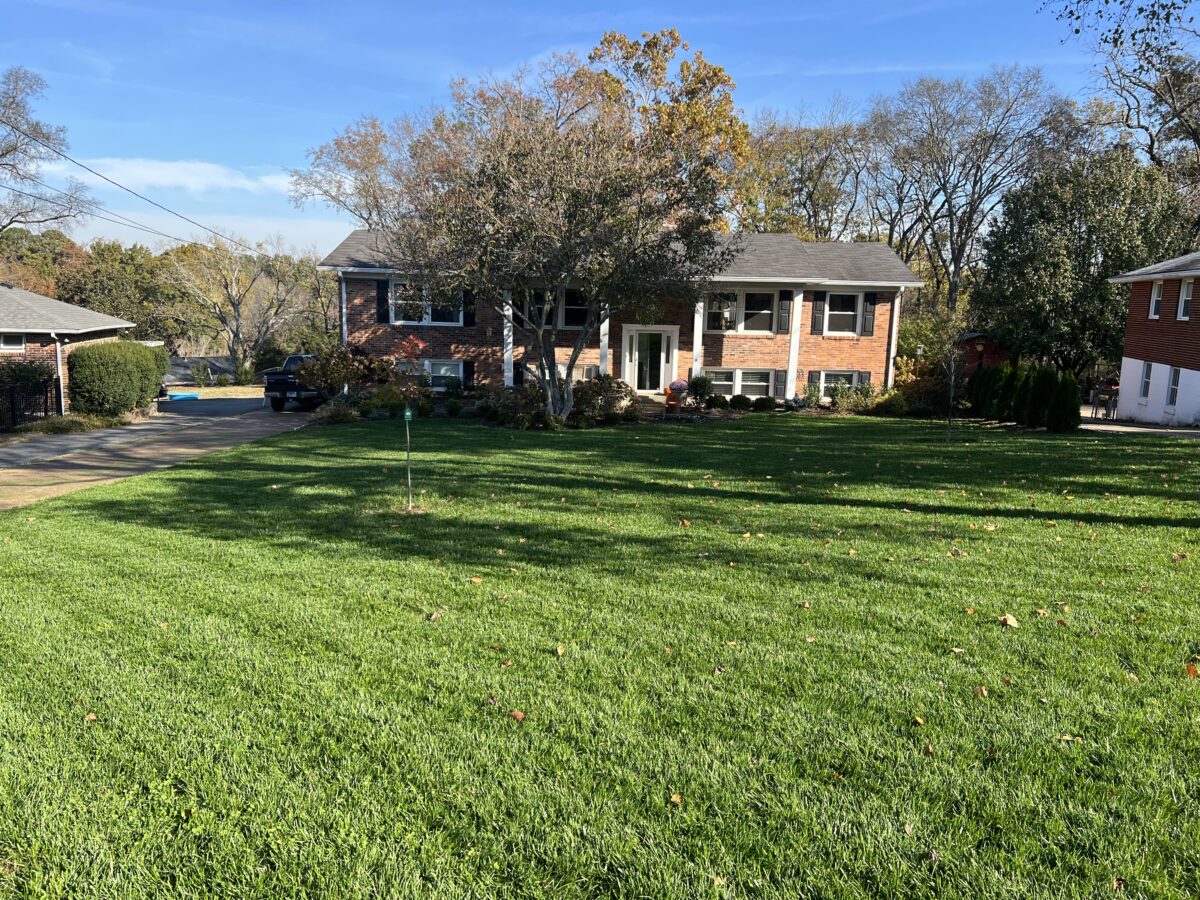
Aeration and overseeding help your lawn absorb healthy nutrients and regrow in areas that are thinning or damaged. Aeration costs between $150 to $230, while aeration and overseeding together double the price of aeration alone. The general rule of thumb is to aerate and overseed your lawn once per year. The best time to aerate and overseed your yard is the early fall because the temperature is starting to cool, but the soil is still warm. 

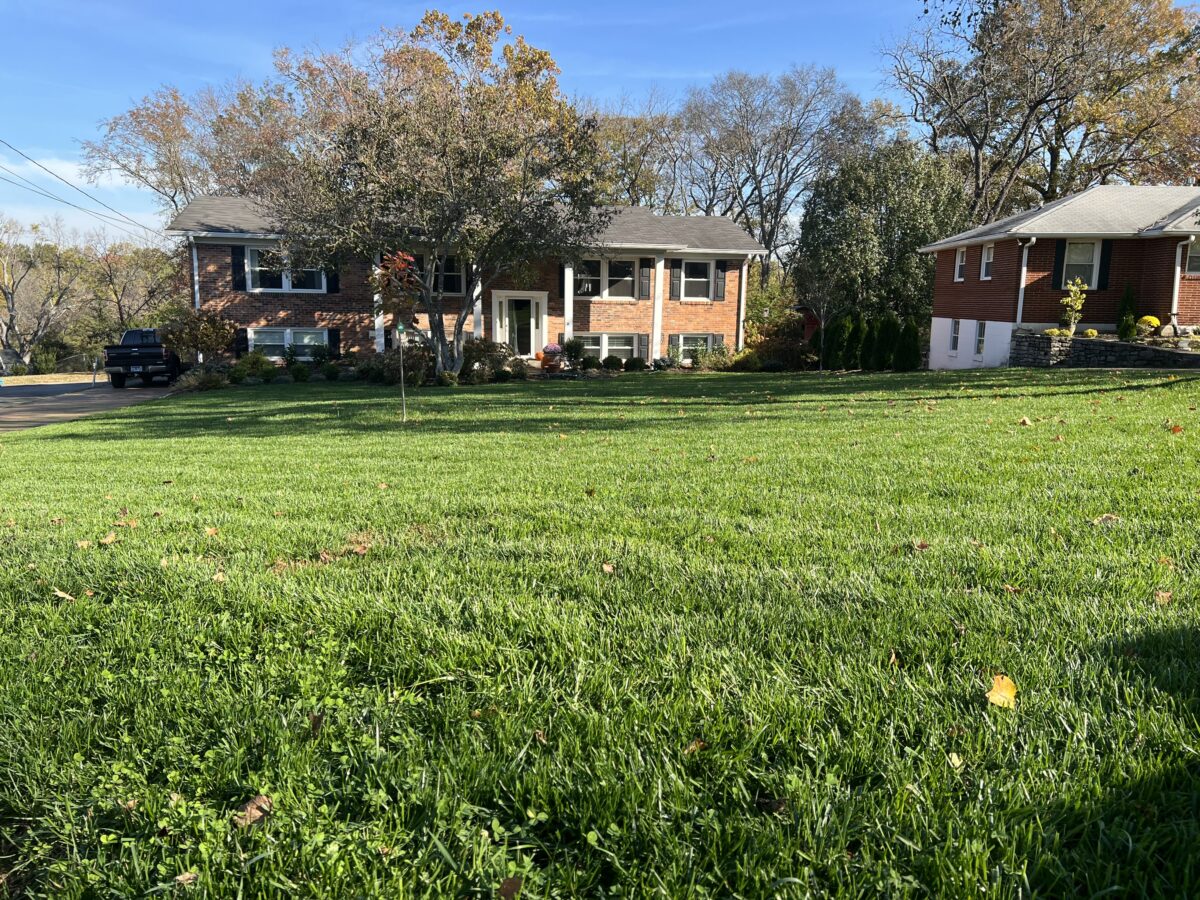
Rest assured, lawn aeration and overseeding may seem slightly inconvenient, especially if you attempt to do it on your own. Nevertheless, the pros of aeration and overseeding far outweigh the cost involved. You’ll have vibrant and evenly-distributed grass that boosts your home’s curb appeal and makes the lawn much easier on the eyes.

Why we started The Lawn Review

We started The Lawn Review out of frustration. We couldn’t find clarity around what type of products were actually good and reliable. All the fertilizers we tried didn’t work. We ended up with a dying lawn, wasted time, and wasted money.

So we started buying and reviewing lawn tools and figuring out which ones were the best. And now we’ve moved onto actually keeping that grass nice and healthy all year around. 

How we spend our time now.

We’ve spent thousands of hours building this content for people just like you and me – normal people.

How To Take Care of Your New Sod Lawn (2024 Update)

Caring for a new sod lawn is an extremely nerve-wracking experience. Sod is expensive and looks great, but can easily fail.

If the sod fails to grow and incorporate into the underlying soil, you are left with a huge mess. 

My neighbor recently had to pull up his old sod lawn and it was an absolute nightmare. To add insult to the injury of losing his investment, he had to pull up all the old plastic mesh that was stuck in the dirt. 

Yikes.

Let’s avoid that at all costs. 

Today, we are going to talk through exactly how to take care of your new sod lawn to make sure it thrives for years to come.

Let’s get started:

The Basics: Why Sod Lawns Are Great

If you can successfully pull off a sod lawn transplantation, then they are by far the easiest way to get a nice looking lawn. Sod lawns are great because they immediately give you curb appeal with a luscious, green lawn. 

#goals.

Realistically, starting from scratch with just a plot of dirt and trying to grow thick grass is probably way harder than getting your sod to successfully stick. Starting from scratch involves tilling the dirt, leveling the lawn, watering, laying down fertilizer and seed, watering some more, and lots of prayer. 

When the grass does start to come in, it’s usually sparse and patchy. Then you have to start the process mostly over again. 

On the other hand, sod lawns instantly beautify your yard with thick, green grass. Work is still required to keep it there, but not nearly as much as a new lawn overhaul.

How To Prepare Your Lawn For Sod

Starting at the top, the first thing you want to do is to till up your yard. Yep, intentionally destroy that sucker. Using a tiller at about 2-3 inches will help pull up all the old, dead grass and weeds growing in your yard. It also has the benefit of bringing new soil up to the top, an extreme version of the yearly aeration process.

If you have grass and weeds pulled up from the yard that you just tilled, your next step is going  to be to remove everything but dirt using a rake. So go grab a wide rake and a wheelbarrow and haul off all of that junk.

May come in handy!

Once you have cleared out everything but dirt, you can use the same rake to make the lawn as level as possible. Some people use lawn levelers, but you can really get away with a rake and some elbow grease as long as you’re making the dirt relatively flat and even.

After you’ve got it level, you can lay down some lime and fertilizer. Most generic lime and fertilizers will be just fine to throw down without causing too much damage, but if you want to really skyrocket your chance of success then you can take a soil test. Soil tests will tell you the exact state of your soil which you can use to apply the perfect ratio of fertilizer.

If you’ve laid down the fertilizer, getting the soil nice and most with a sprinkler will help prime it to accept the roots from the sod. Make sure to do a nice sprinkle right before laying down the sod.

To summarize:

  1. Use a tiller to dig up weeds and grass from your yard.
  2. Remove everything except for the dirt using a rake.
  3. Level the lawn using the same rake or a lawn leveler.
  4. Lay down some lime and fertilizer.
  5. Keep the soil moist.
  6. Get ready to go.

How To Take Care of New Sod

It’s a great day!  Your lawn looks picture perfect and the sod is completely down and ready to thrive, right? Right?

Not quite. While the sod looks perfect, it is going to take some work to keep it that way. It’s almost like getting flowers for your wife. They look great, but without water they are going to wilt quickly. It is way more complex to keep it not only alive and green, but truly healthy to survive year after year. 

Watering Your New Sod Lawn

The first thing to do is to let these puppies drink. Give them water! Most folks recommend that you water twice per day for 20-30 minutes. I would go even a little bit less time, 10-20 minutes, but watering multiple times throughout the day, like 4-5 times.

We recommend watering for 10-20 minutes, 4-5 times per day. The difference is all about getting the roots to dig deep. In order to have roots that get deep, they can’t get rotten or diseased by being overwatered. Overwatering will result in fungus and deprive the roots of vital oxygen that they need in the first few weeks for survival.

Be diligent about this!

Our conventional recommendation for someone overseeding their lawn would be to water for 50 minutes, once a day. But that is advice for well established lawns with complex root systems. The longer, the better with those. 

Also be sure to water every day for the first week, then slowly pull back the number of days you are watering each week. Still maintain the 10-20 minute watering time, but 5 days a week the second week, 4 days a week the third week and then finally 2-3 days a week by the fourth week.

Check out our ultimate sprinkler guide.

Should you fertilize new sod?

Once you’ve watered religiously for a month, you can put down some fertilizer. Most basic fertilizers will get the job done, but we are going to recommend a nice soil ratio of 18-24-12, which is notorious for developing deep roots. You can get this from anywhere, but we recommend Anderson’s fertilizer, which you can get from Amazon for a great price.

If this process looks and sounds familiar, it is very similar to the initial overseeding process done after your yearly aeration process. The principles are really the same. You want deep roots. 

One of these broadcast spreaders will help you lay it down.

Know When To Mow New Sod

Honestly, don’t even think about mowing for the first few weeks. You’ll notice the grass looks good at first but will wilt a little bit. Putting violent spinning blades over the top of this delicate transplant will only make things worse. 

Once the lawn has perked up a bit and you have watered religiously, then you are good to mow. This generally falls at the 3-4 week mark. If you want, mowing and fertilizing can happen back-to-back. 

Use a nice lightweight mower for extra care.

As you should basically always do, crank the height up on your mower all the way to the top – especially for the first few mows. Make sure when you do mow, that the grass is completely dry and there are no mushy areas. If you’ve patched parts of the sod lately, leave those alone with the mower. 

Summarizing this:

  1. Water for 10-20 minutes, 5 times per day, progressively tapering a day off each week.
  2. Fertilize your lawn at around the four week mark with an 18-24-12 fertilizer ratio.
  3. Mow at the 3-4 week mark.
  4. Try to stay off of the grass during this time.

I also recommend not to use an edger during this time. Let the roots totally sink in around the border of the grass, even if it starts to look messy. Once you have full confidence that the roots are deep, then you can start to beautify.

Remember, the health of your lawn is always more important than the appearance of your lawn. Just like with teeth. Don’t let it get to your head.

How Long Will It Take For The Sod To Root?

Typically 2-3 weeks is when you can feel confident that your sod has taken root. During cooler months, you can expect 4-5 weeks for the roots to become established.

If you try to rush the process you can put the whole yard at risk. Roots will begin to start digging after about a week, but are extremely delicate until the 2-3 week mark.

Why Is My New Sod Turning Brown?

New sod turns brown when it lacks water. Proper watering, 4-5 times per day for 10-20 minutes will help recover the sod. 

If you see ALL of the sod turning brown, it is likely a water issue. If you are seeing brown spots, it could be any number of things including dog urine, fungus, or overwatering, although all of these are less likely to occur than all of your sod turning brown from dehydration.

How Long Should You Stay Off New Sod?

Try to keep animals, children, and yourself off of the new sod lawn for at least 3-4 weeks. This is a critical time period to make sure that the roots become  established. 

Why we started this site

We started The Lawn Review out of frustration. We couldn’t find clarity around what type of products were actually good and reliable. All the fertilizers we tried didn’t work. We ended up with a dying lawn, wasted time, and wasted money.

So we started buying and reviewing lawn tools and figuring out which ones were the best. And now we’ve moved onto actually keeping that grass nice and healthy all year around. 

We take this stuff seriously!

We’ve spent thousands of hours building this content for people just like you and me – normal people.

Exit mobile version