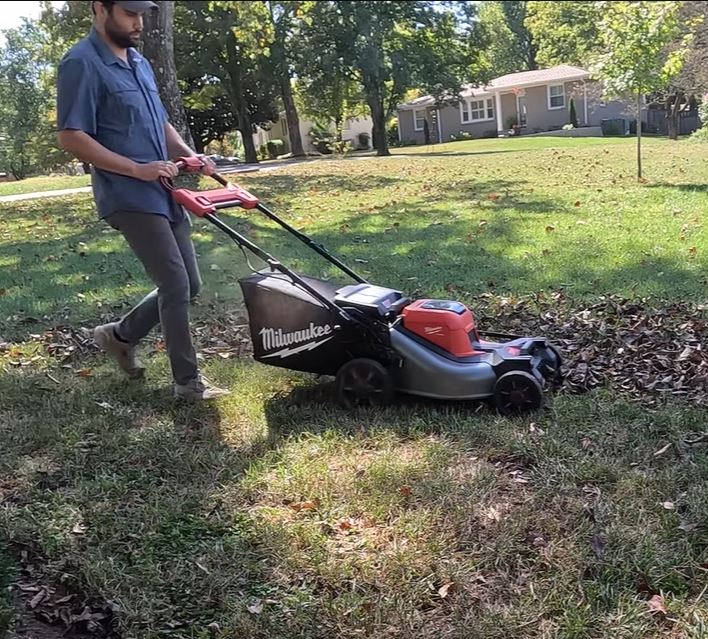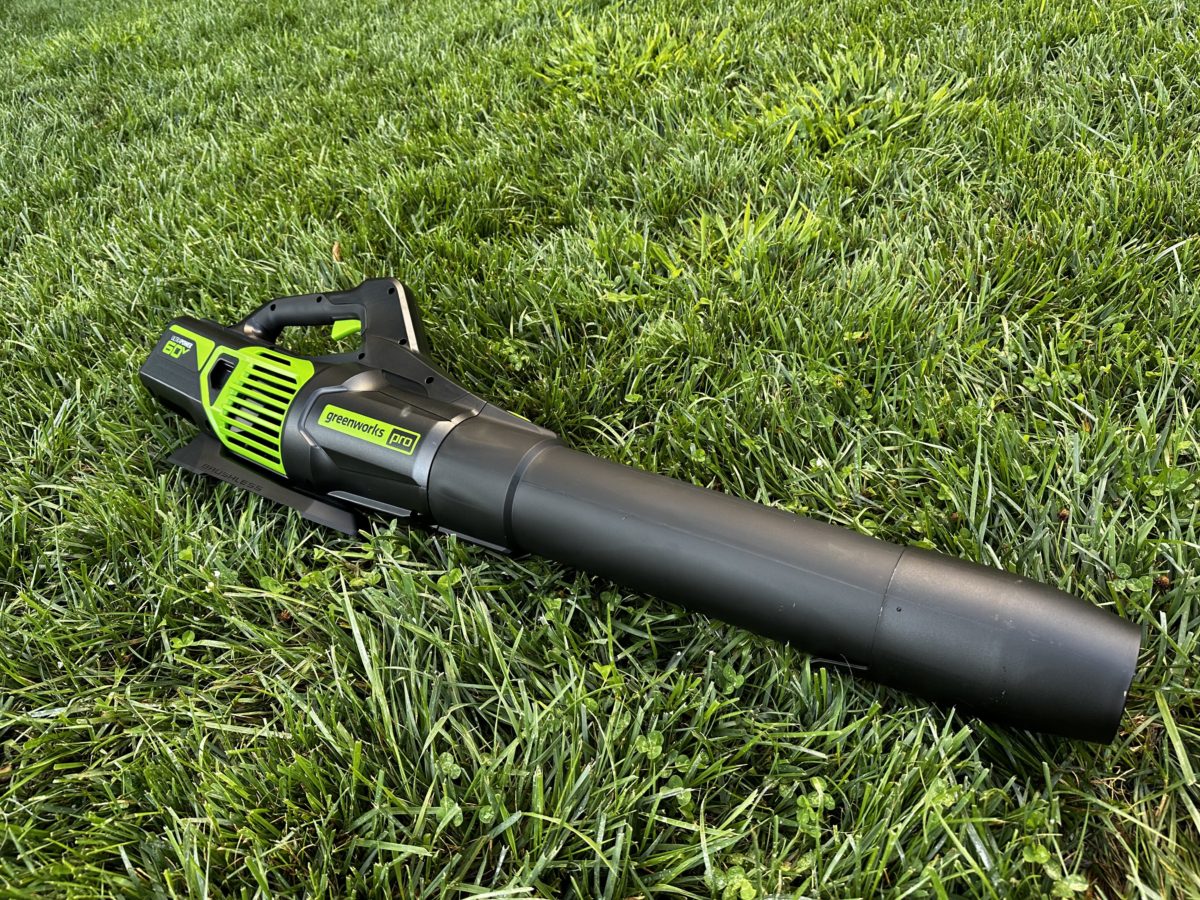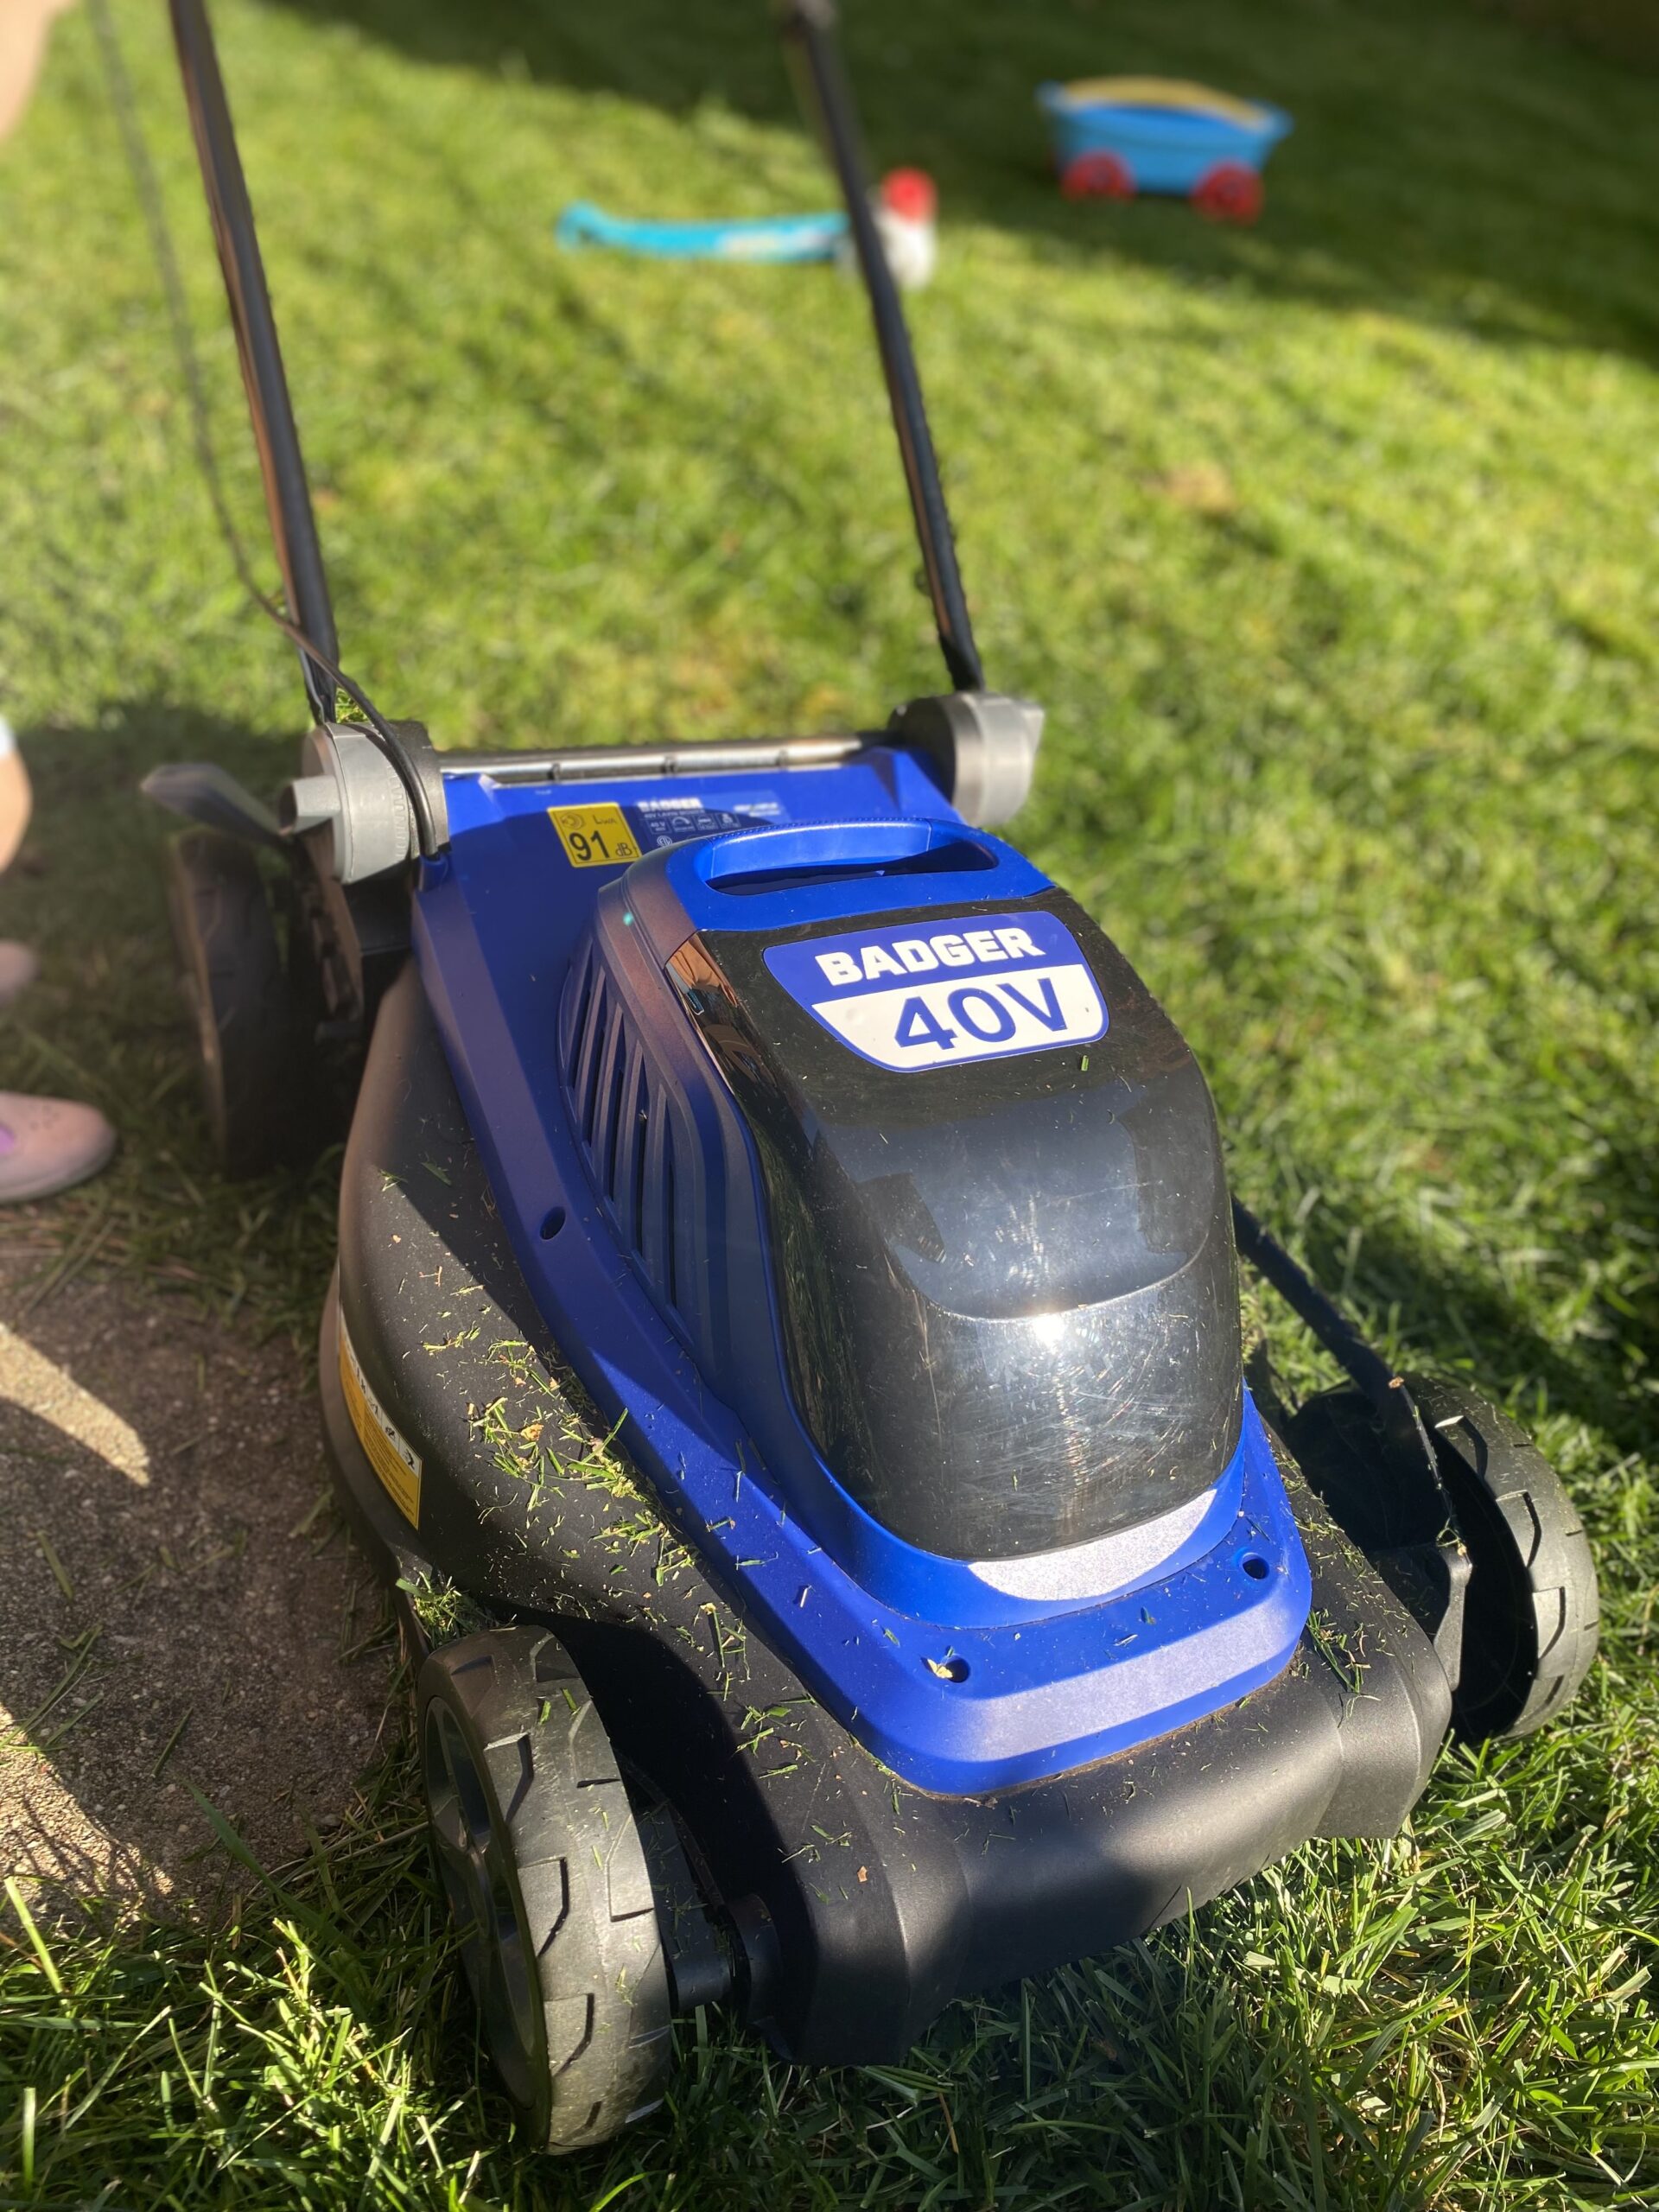
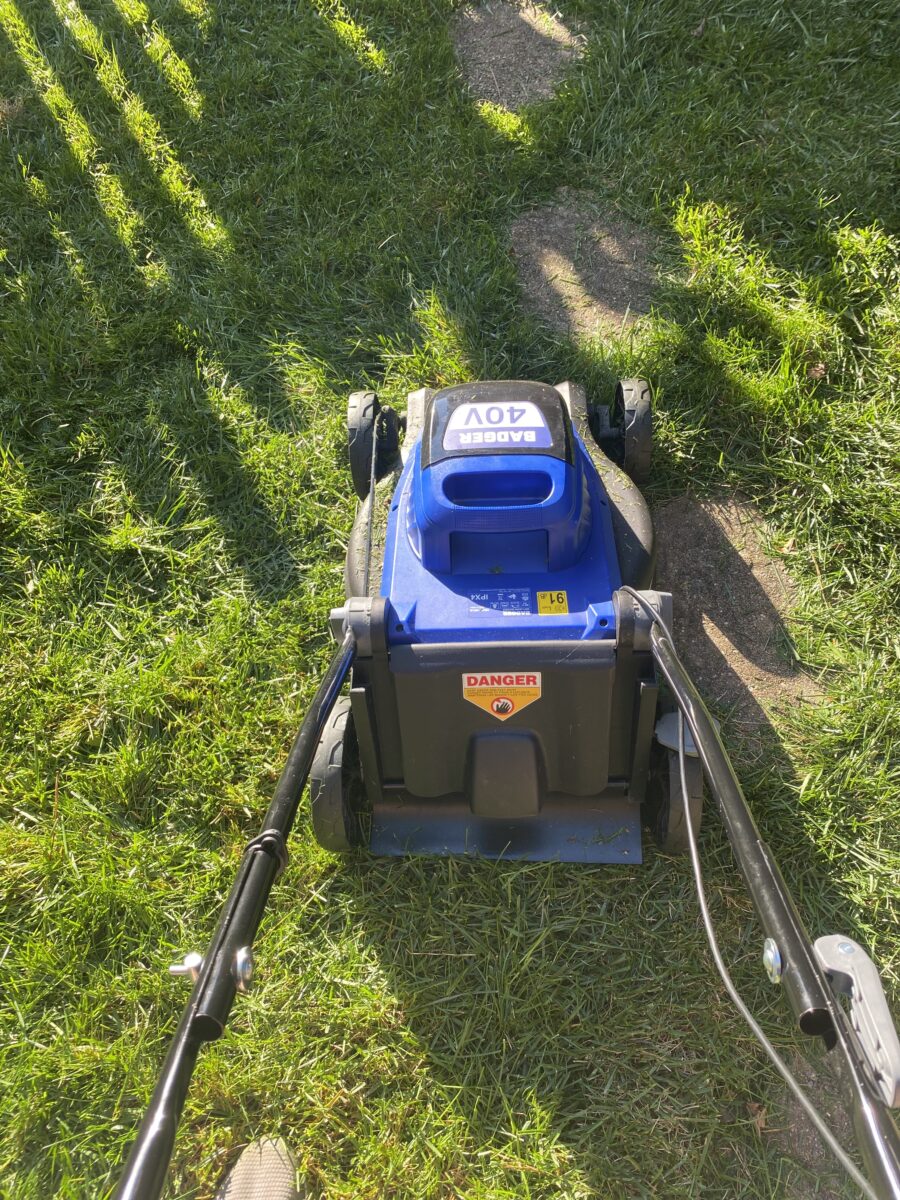
Wild Badger’s 40V cordless mower is an 18 inch lawn tool that I just tested in my backyard. I had some ups and downs with this mower. Most of my downs come with putting this electric mower together, most of my ups come with actually using it.

Quick Summary of my thoughts on the Wild Badger 40V mower
Here are my thoughts on the Wild Badger 40V mower – scroll down if you want the full story:
Pros of the Wild Badger 40V mower:
- Super lightweight electric mower and easy to maneuver around my small backyard
- Really quiet – I mowed next to my kids and they didn’t get freaked out
- No gas smell afterwards – standard on electric mowers
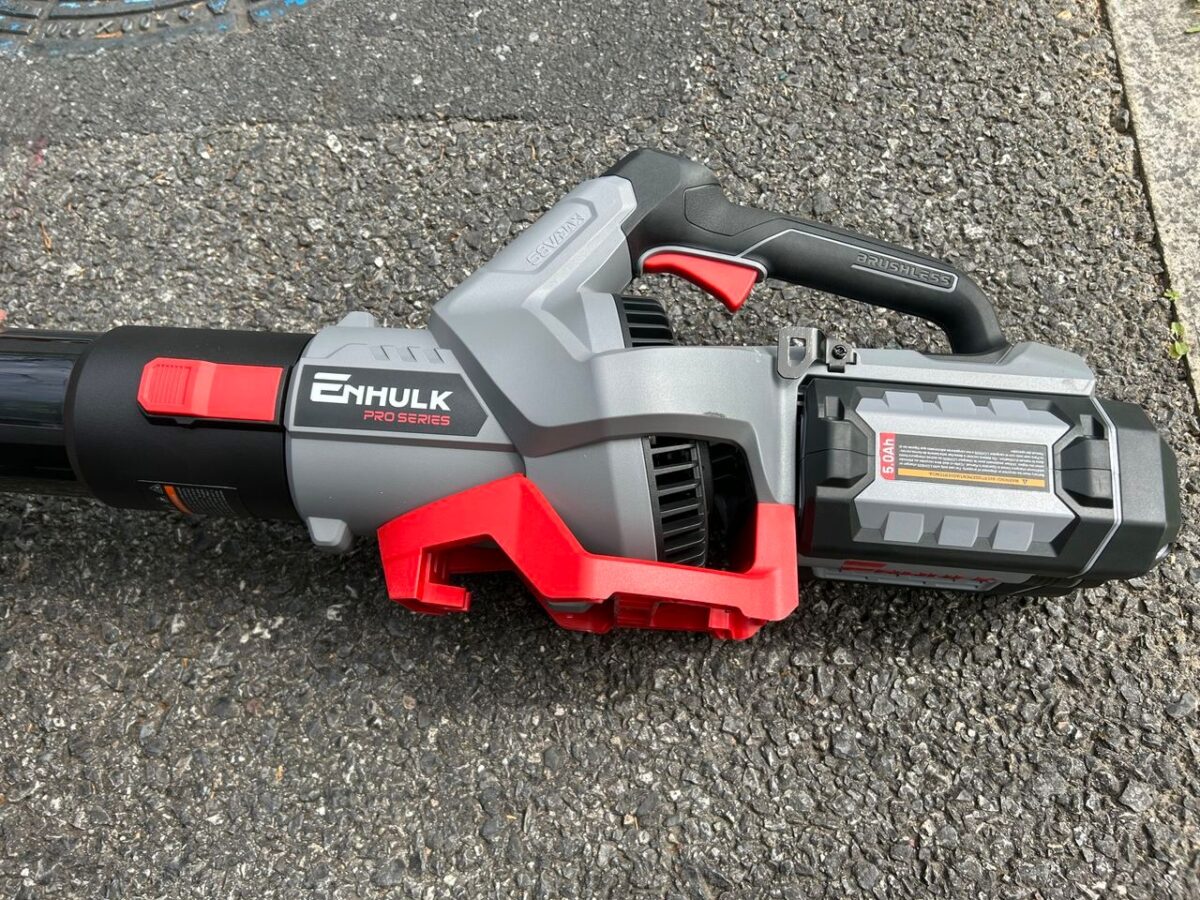
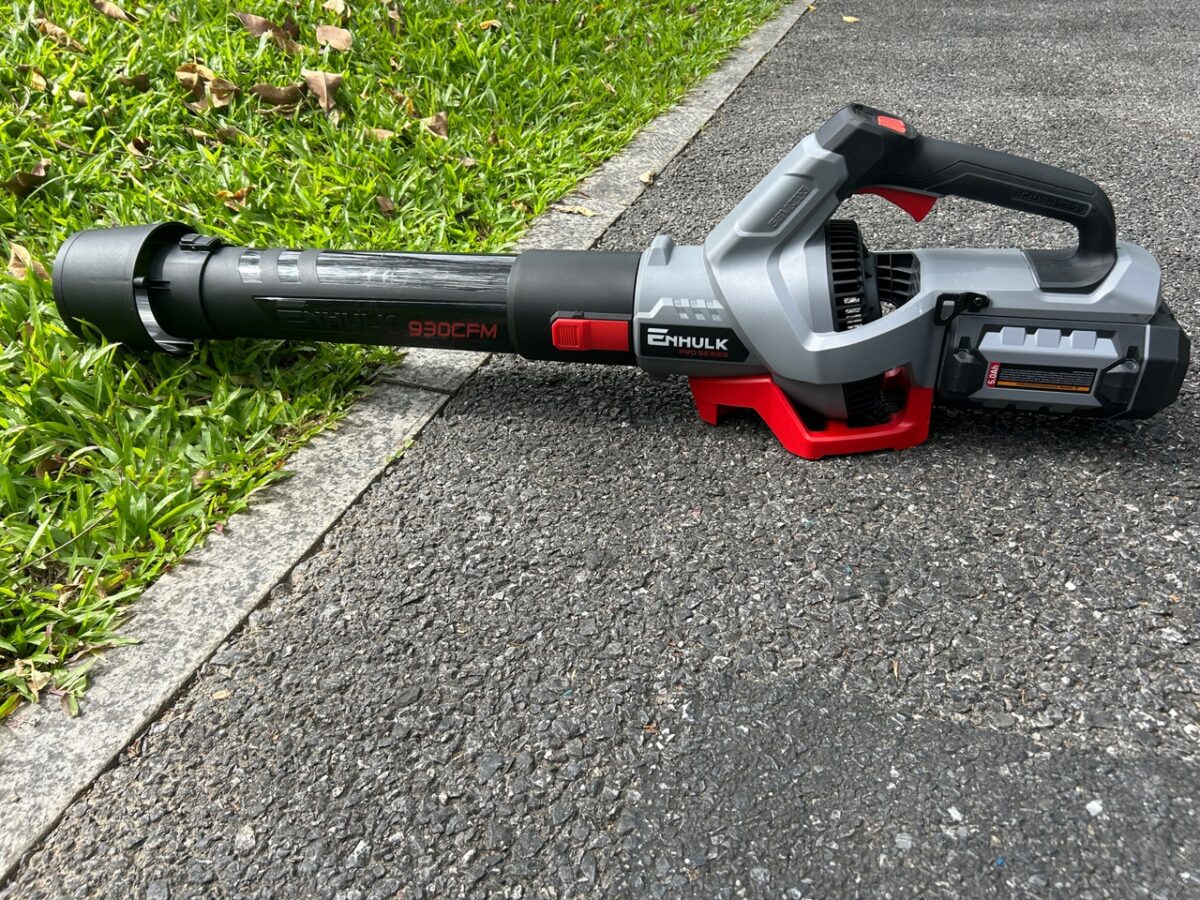
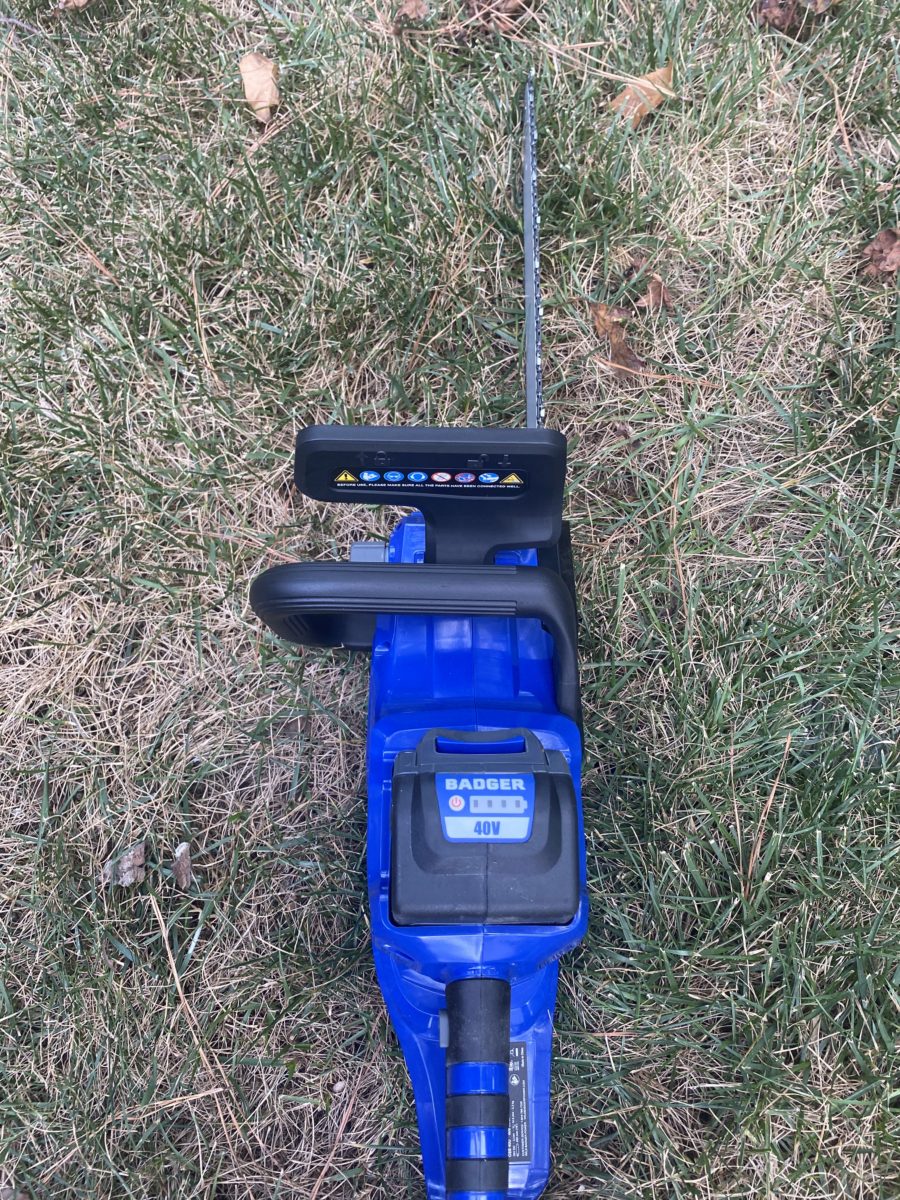
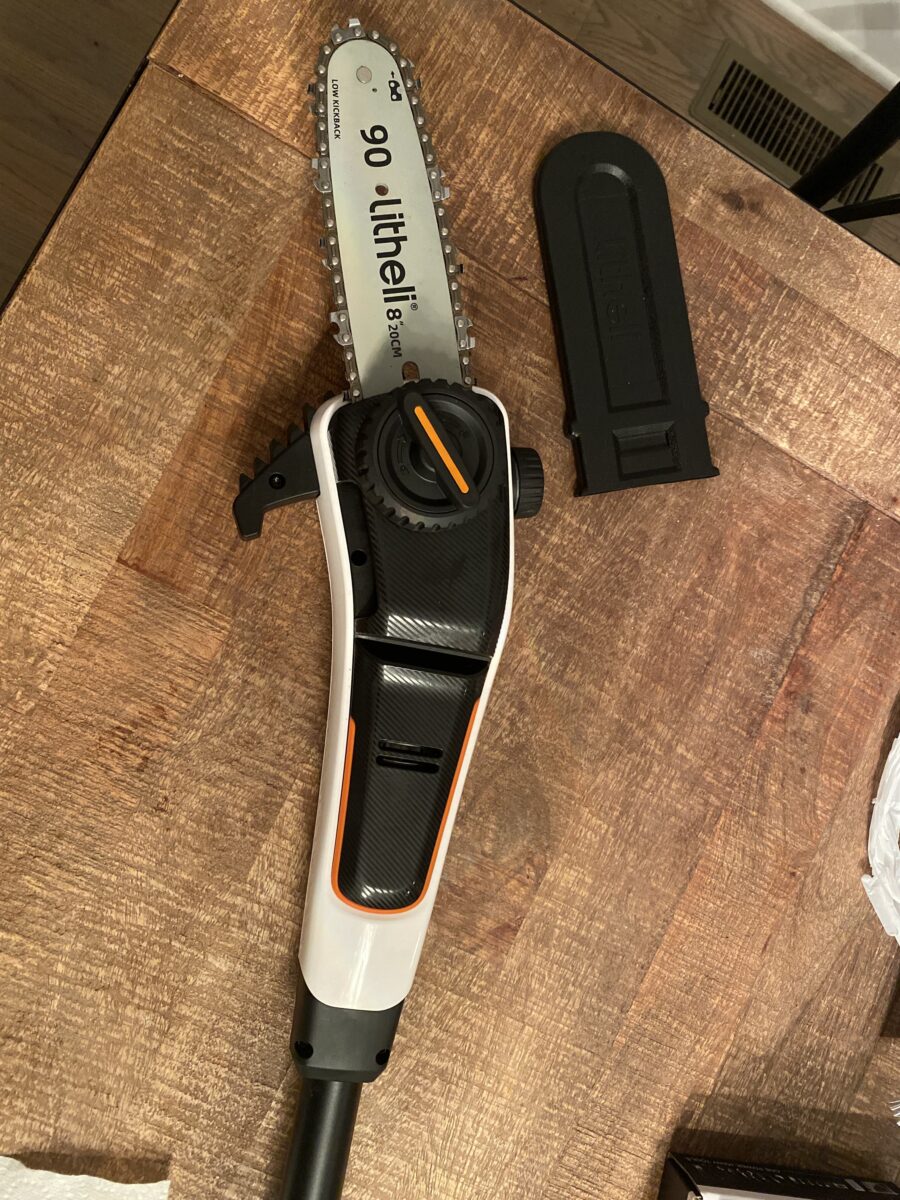
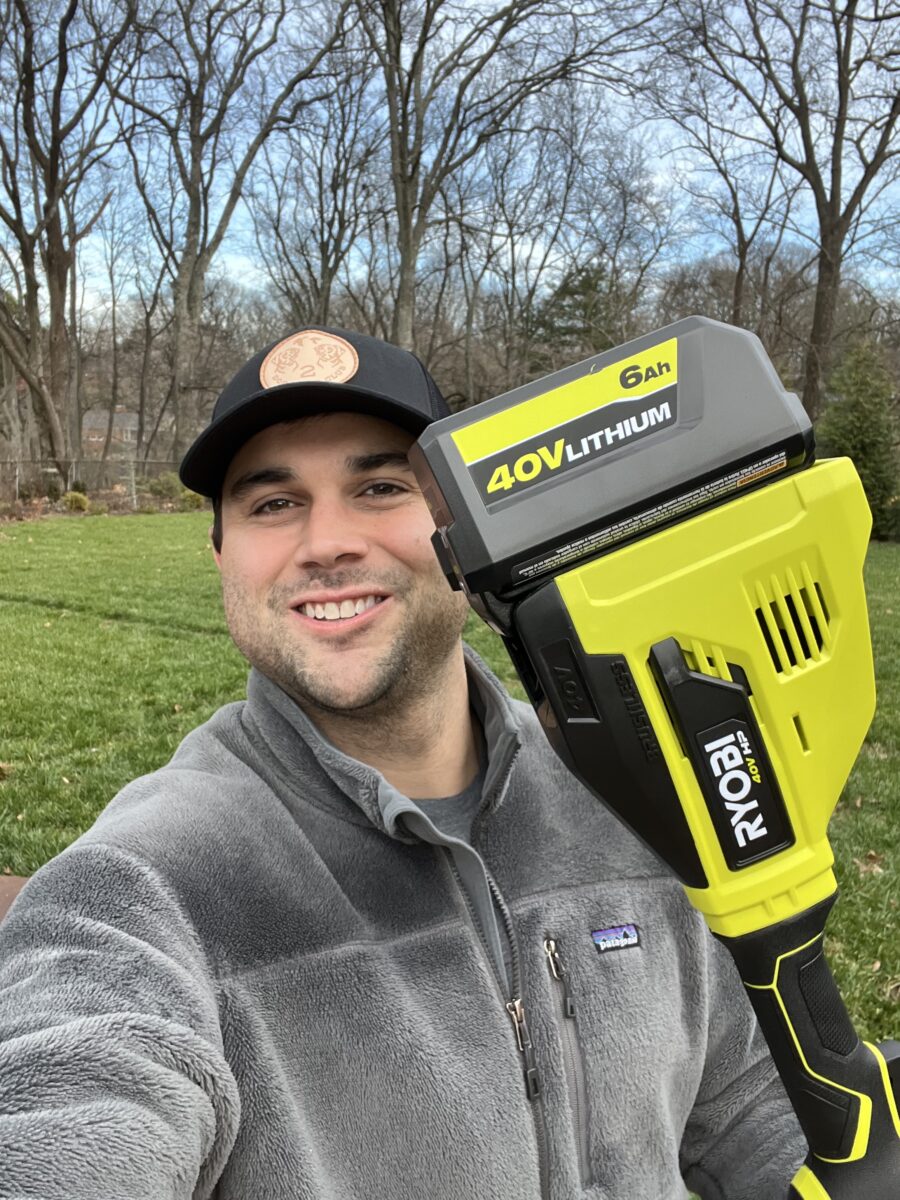
- I have the 40V Chainsaw already, so didn’t need a battery or charger
- Actually did a good job cutting my tall fescue grass
- Very inexpensive battery mower
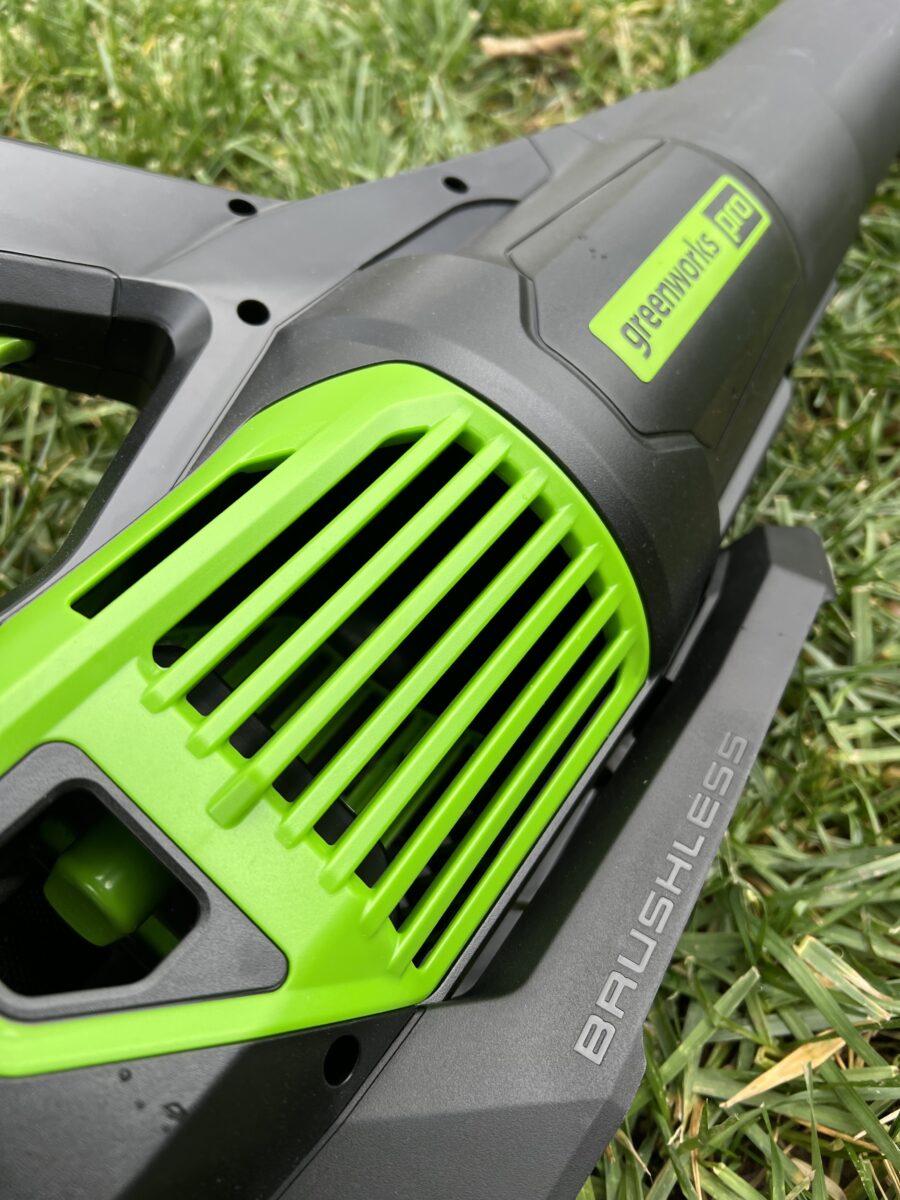
- A brushless motor
Cons of the Wild Badger 40V mower:
- I muttered several cuss words putting the Wild Badger mower together
- Not enough height adjustment options
- A little too narrow of a cutting width
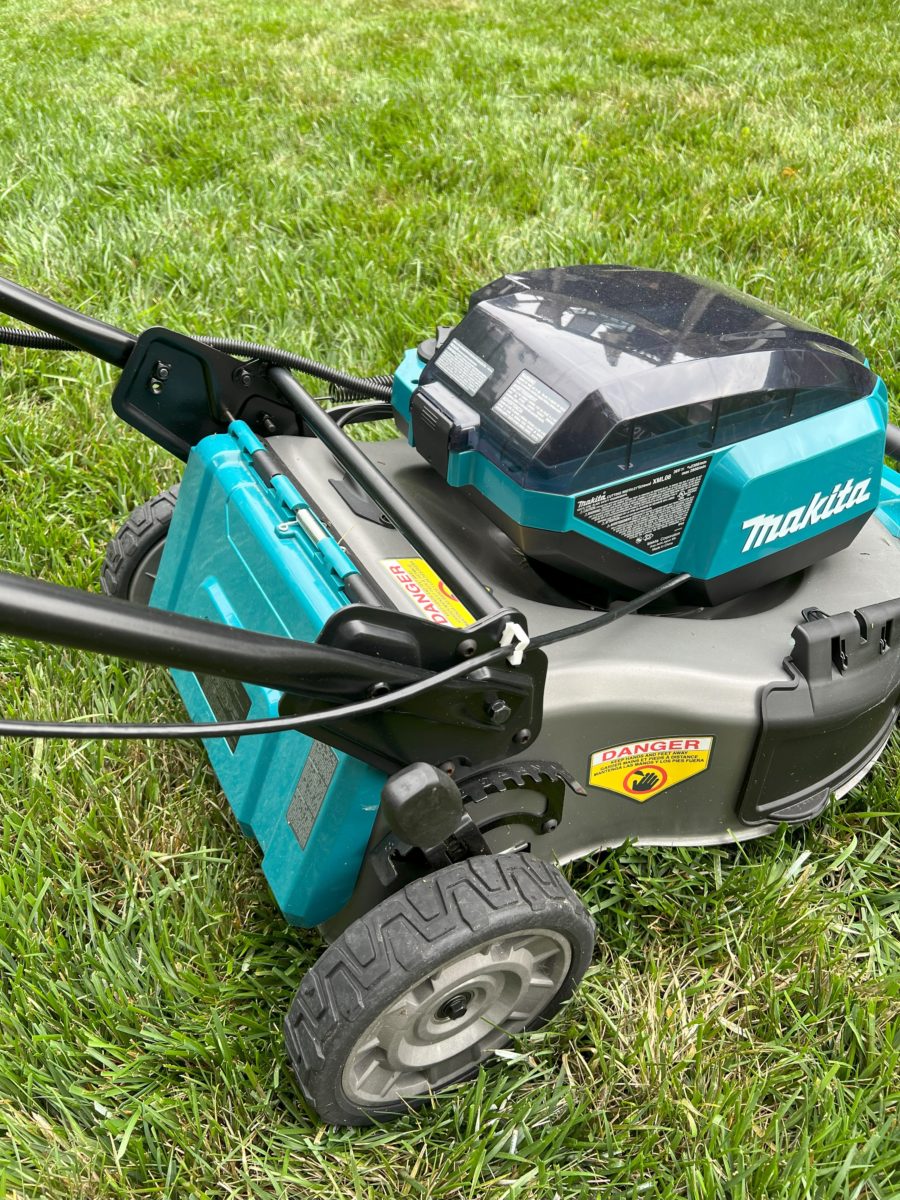
- The deck on the Wild Badger 40V mower is plastic and not metal
Overall, the Wild Badger 40V mower is pretty good for the price. I haven’t used it for more than a few cuts so far so can’t tell you about how durable it will be in the long run. It’s a great electric mower for small yards.
You can grab the Wild Badger 40V mower on Amazon here for a great price.
My experience using the 40V Wild Badger Cordless Mower
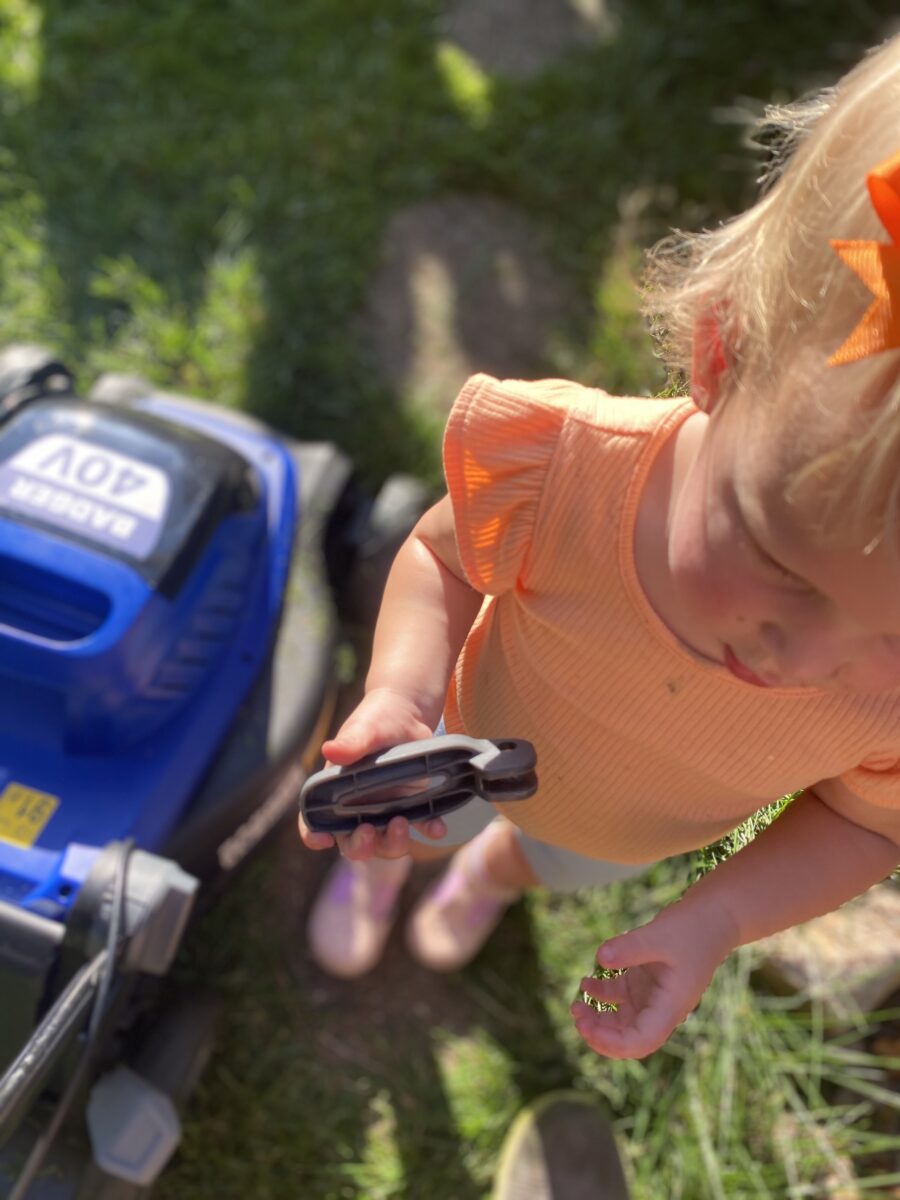
The Wild Badger 40V mower showed up to my house one afternoon and I was excited to see it on the front porch. I took it around to my backyard and let my kids help me put it together.
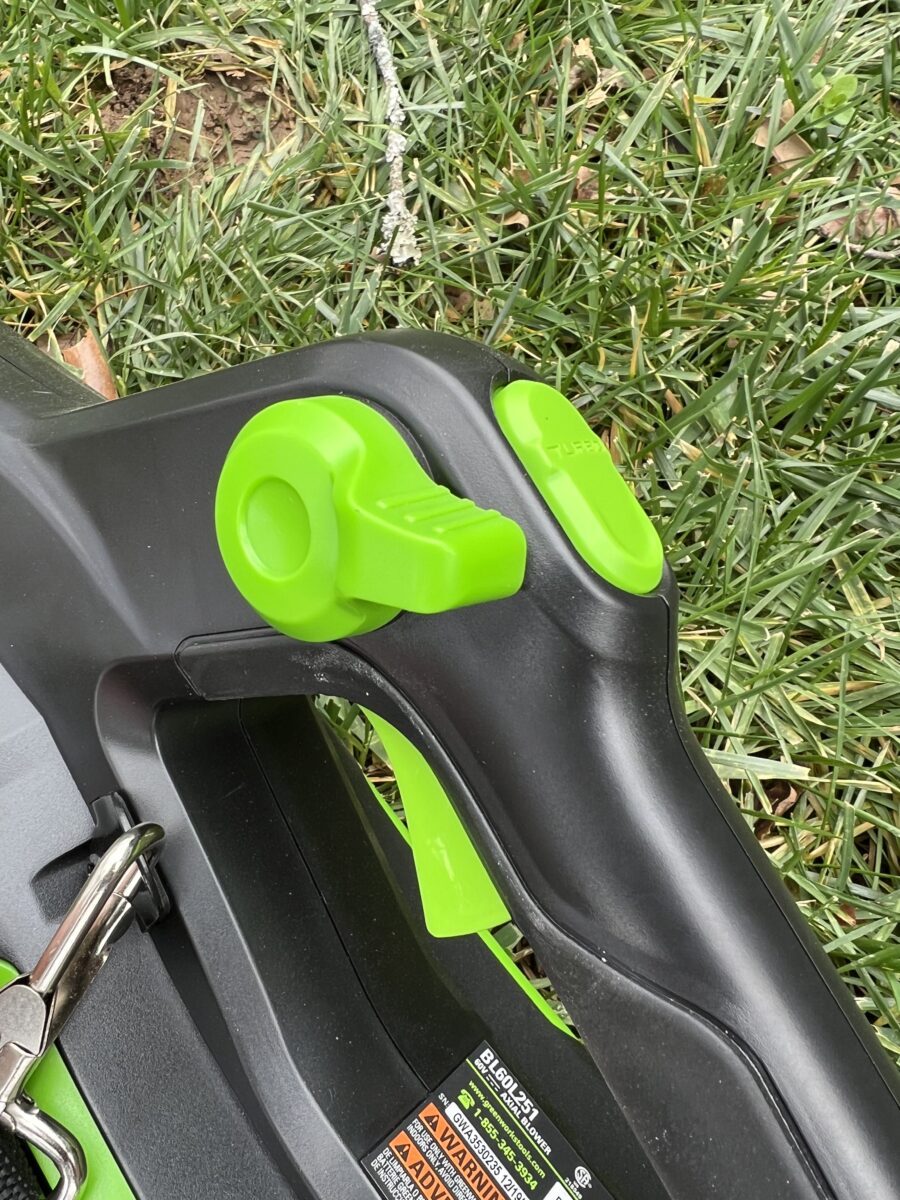
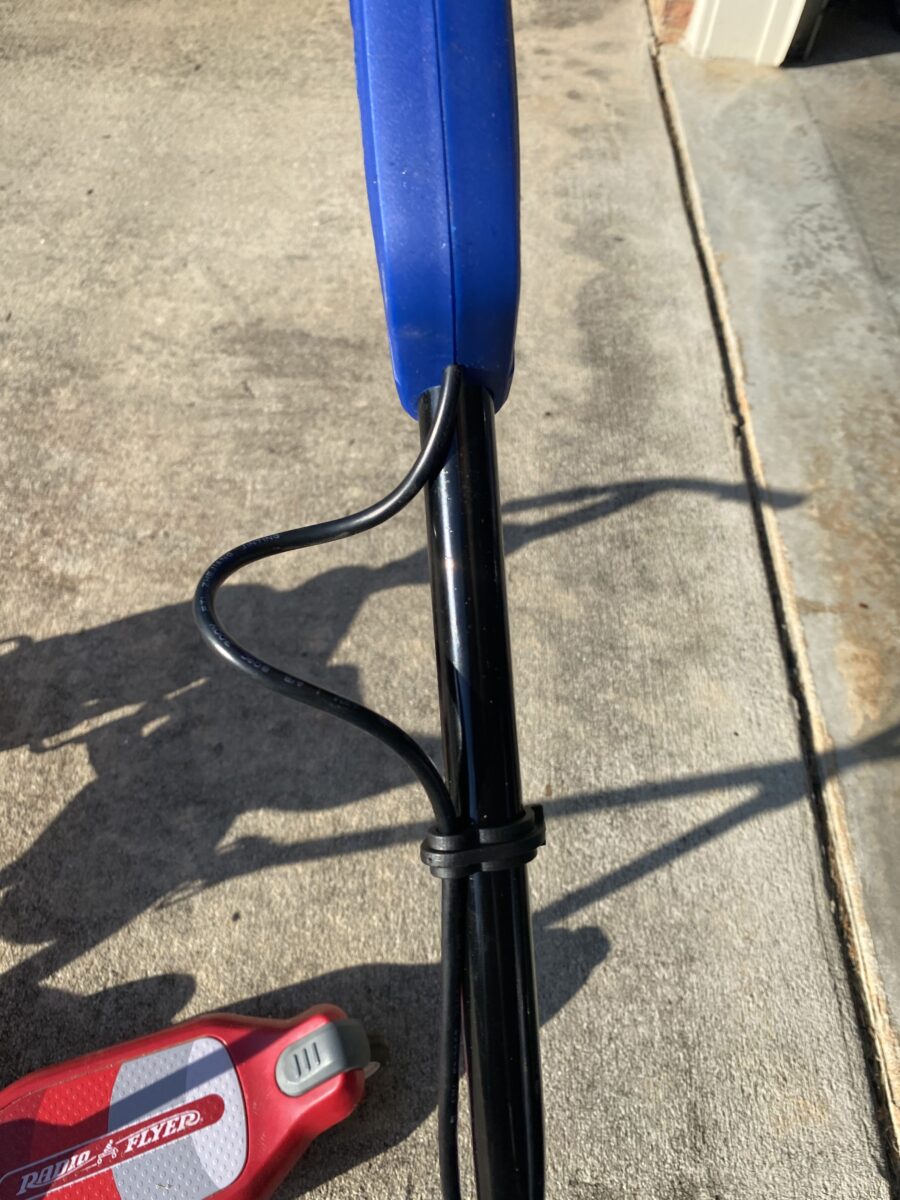
Assembling this cordless mower sucked
How hard can it be? You just put the handle on, put the battery in, and you’re good to go, right? WRONG. Assembling this mower was a pain and I never got it right. The foldable handles are a good concept, but putting them together was painful. I gave up and let my daughter play with it (see below).
The handles are supposed to fold down but the mechanism that folds them down is plastic and falls apart super easily. I see what they were trying to do, but this was a huge miss. I ended up installing it without the folding handle pieces and just screwing the handle together.
Mowing experience
When I actually got this mower together and turned it on, I was pleasantly surprised. The Wild Badger started up really easily, was extremely quiet, and did a good job mowing.
My kids were in the backyard when I was mowing and I didn’t think twice about the noise impacting them. Another huge benefit is that I didn’t smell like gas after. At first, I thought it was cutting too short, but realized my grass had just grown too long.
Adjusting the height on the mower was extremely easy. It has a single point on one wheel that adjusts the height on the entire mower. That feature on the Wild Badger is normally seen on $400+ mowers.
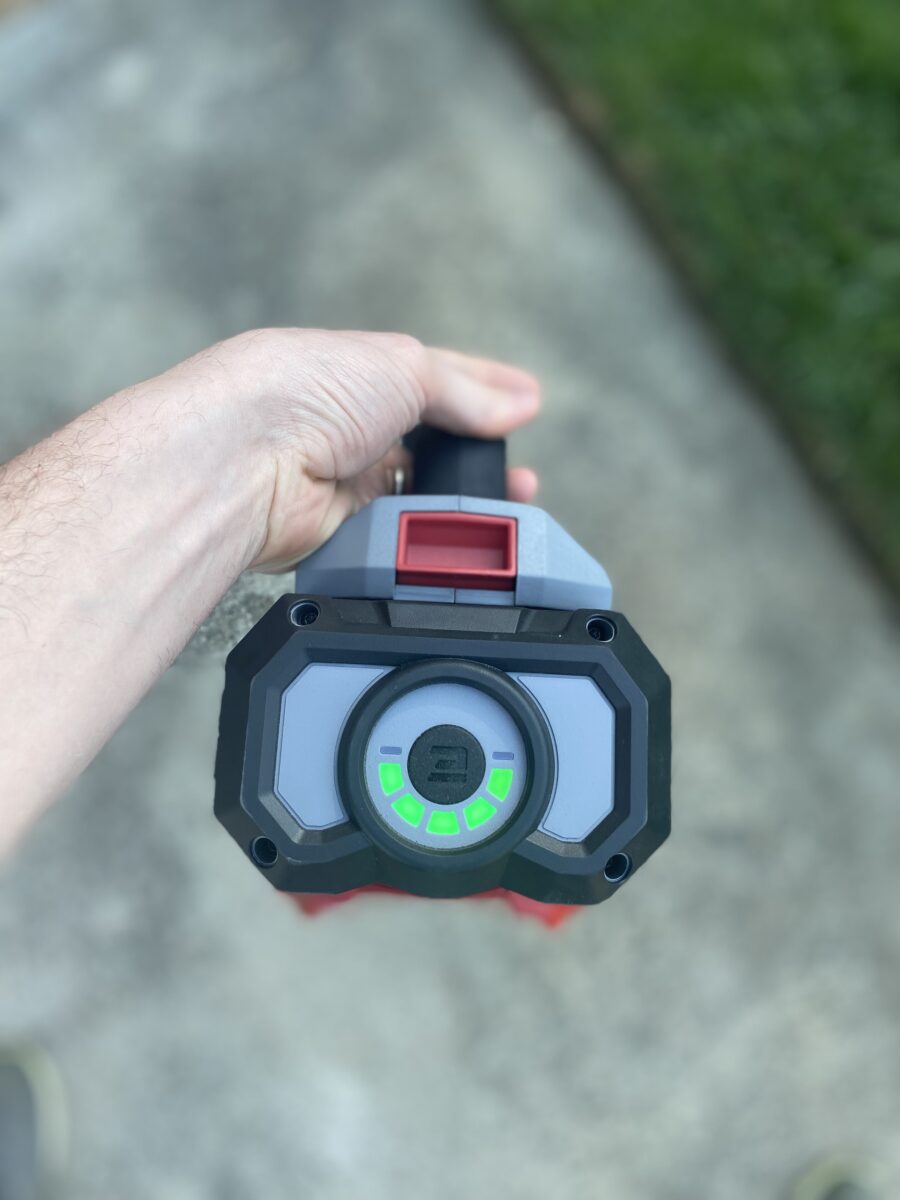
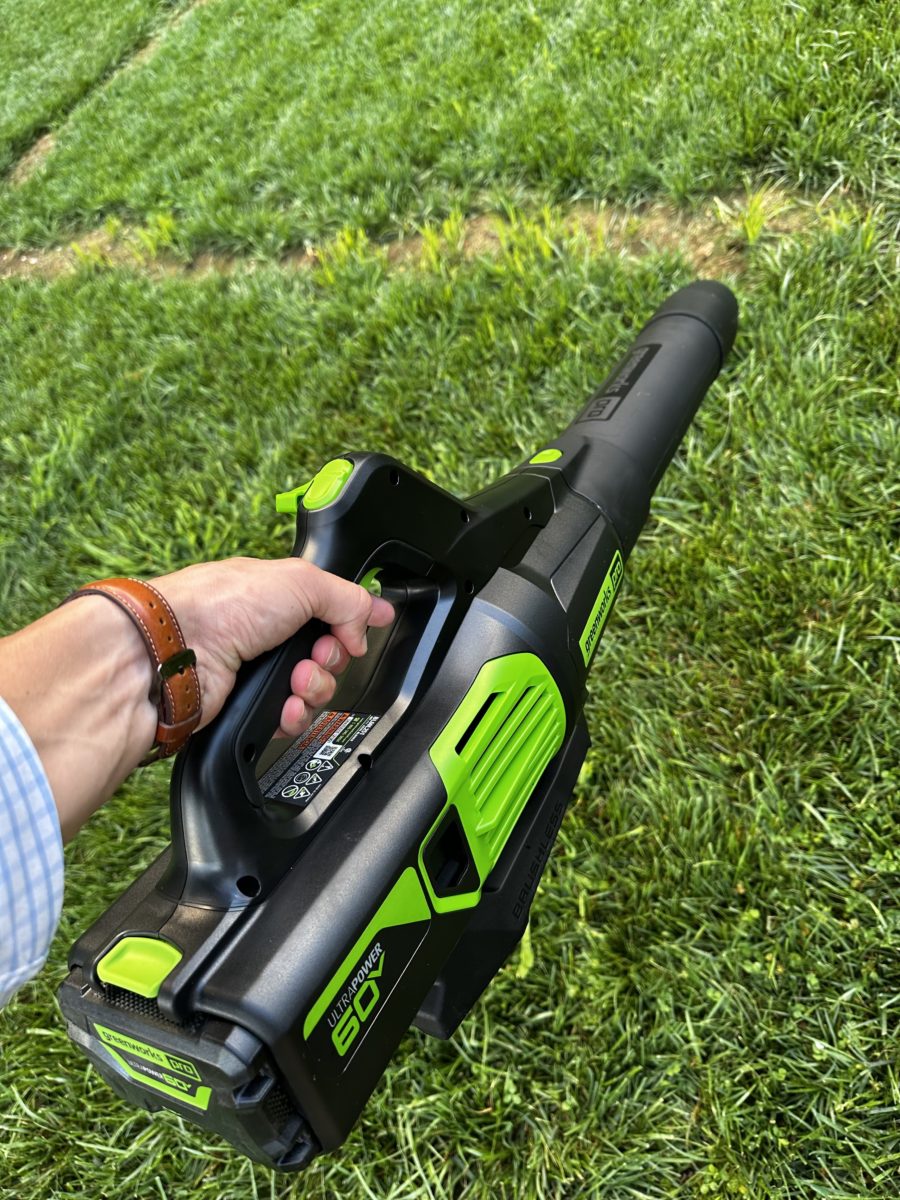
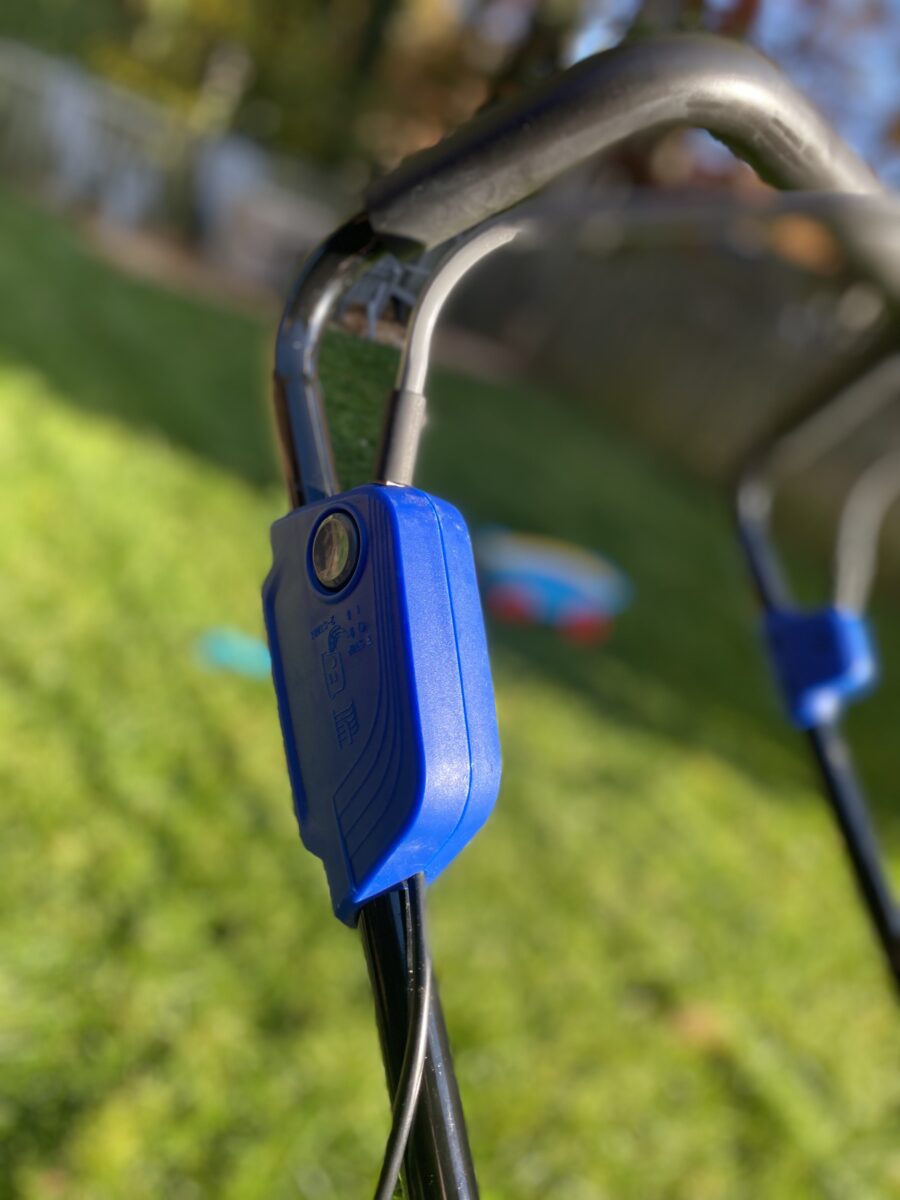
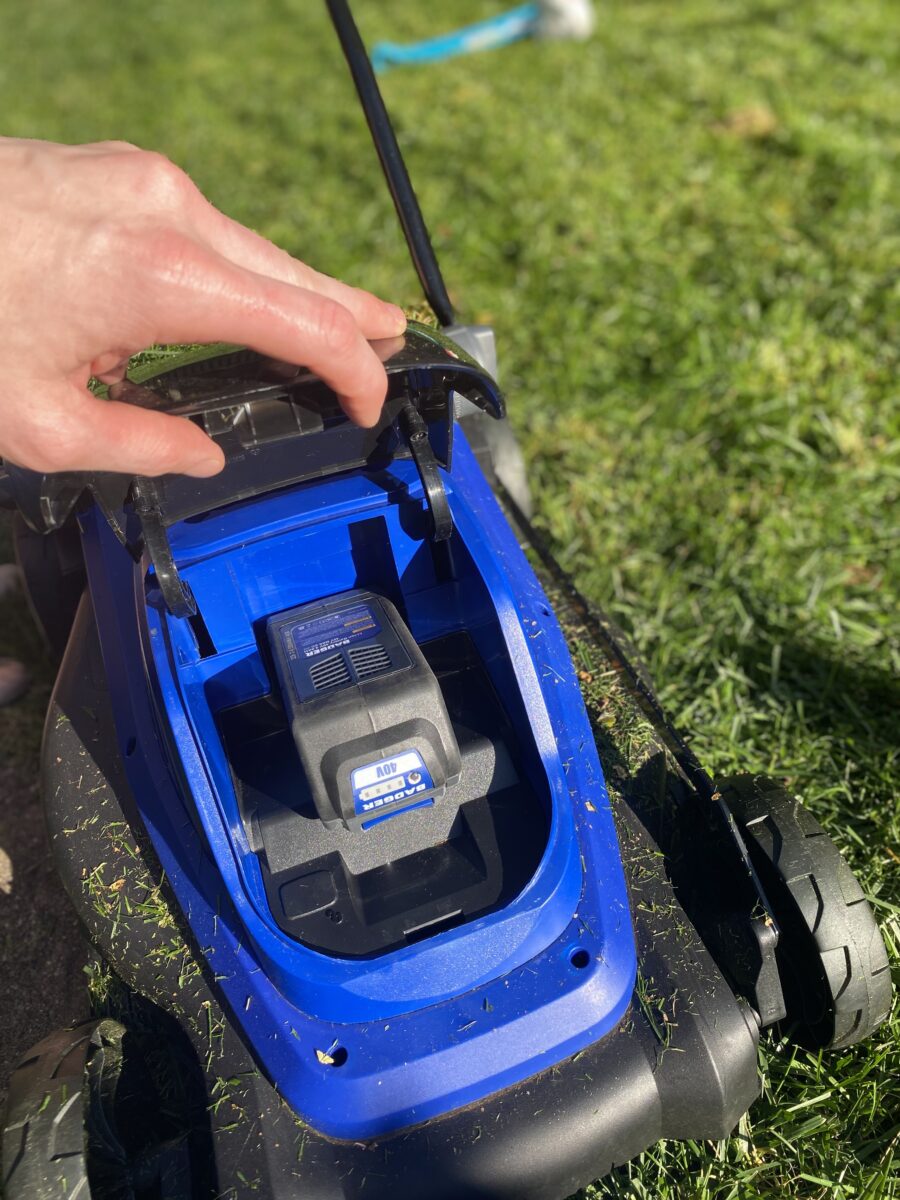
The battery
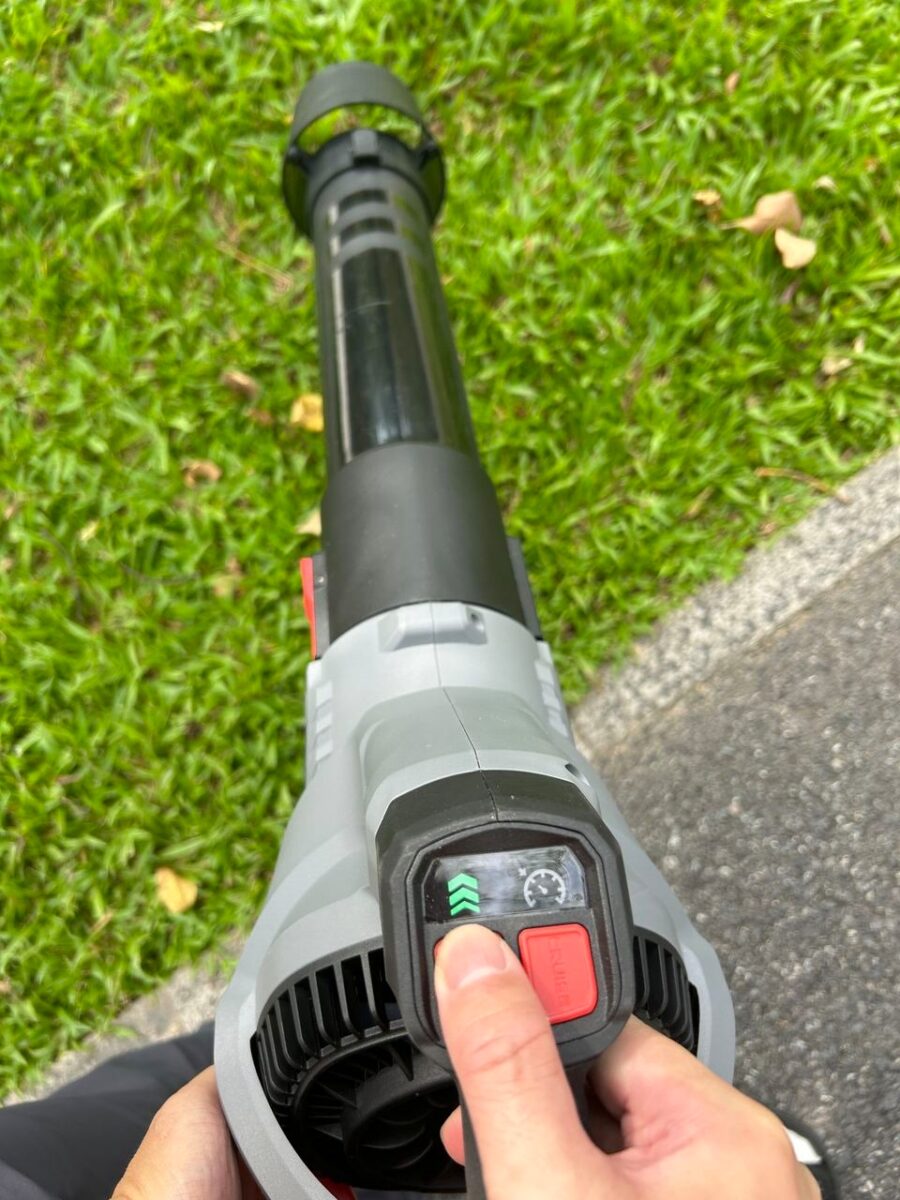
Fortunately, I already have the chainsaw and didn’t need to go buy a battery or charger for this mower. I can use the same charger for both tools. This one pops right in and is super easy to slide in and out. The Wild Badger battery has a push-button feature that shows you how much juice is left on the battery. I did my whole backyard without a single bar going down.
What would I change on the Wild Badger 40V mower?
There are a few things I would change about this mower if Wild Badger let me redesign it for them.
A wider cutting deck
18 inches is a good cutting width for a really small yard, like a townhome or something. For normal backyards, 20 inches is the minimum.
A metal cutting deck
Plastic cutting decks are okay if they are super thick because they take the weight off of a mower. But metal decks on mowers are far superior. Metal cutting decks are much more durable and resilient than plastic decks.
A simplified folding mechanism
Either make it right or don’t make it at all. The folding mechanism was a premium option that they didn’t need to have – but instead it became a weak point.
Self-propelled function
A self-propelled function on the Wild Badger would have been a nice addition to make the mowing process even better.
Final thoughts: Wild Badger 40V Cordless Mower
Overall, this mower is pretty good for the price. It’s quiet, has a good cut, and is extremely easy to operate. There were a few misses, but for anybody with a small yard and a tight budget – you won’t do much better than this mower. Check the price on Amazon here if you want to see if it is on sale.